Contents
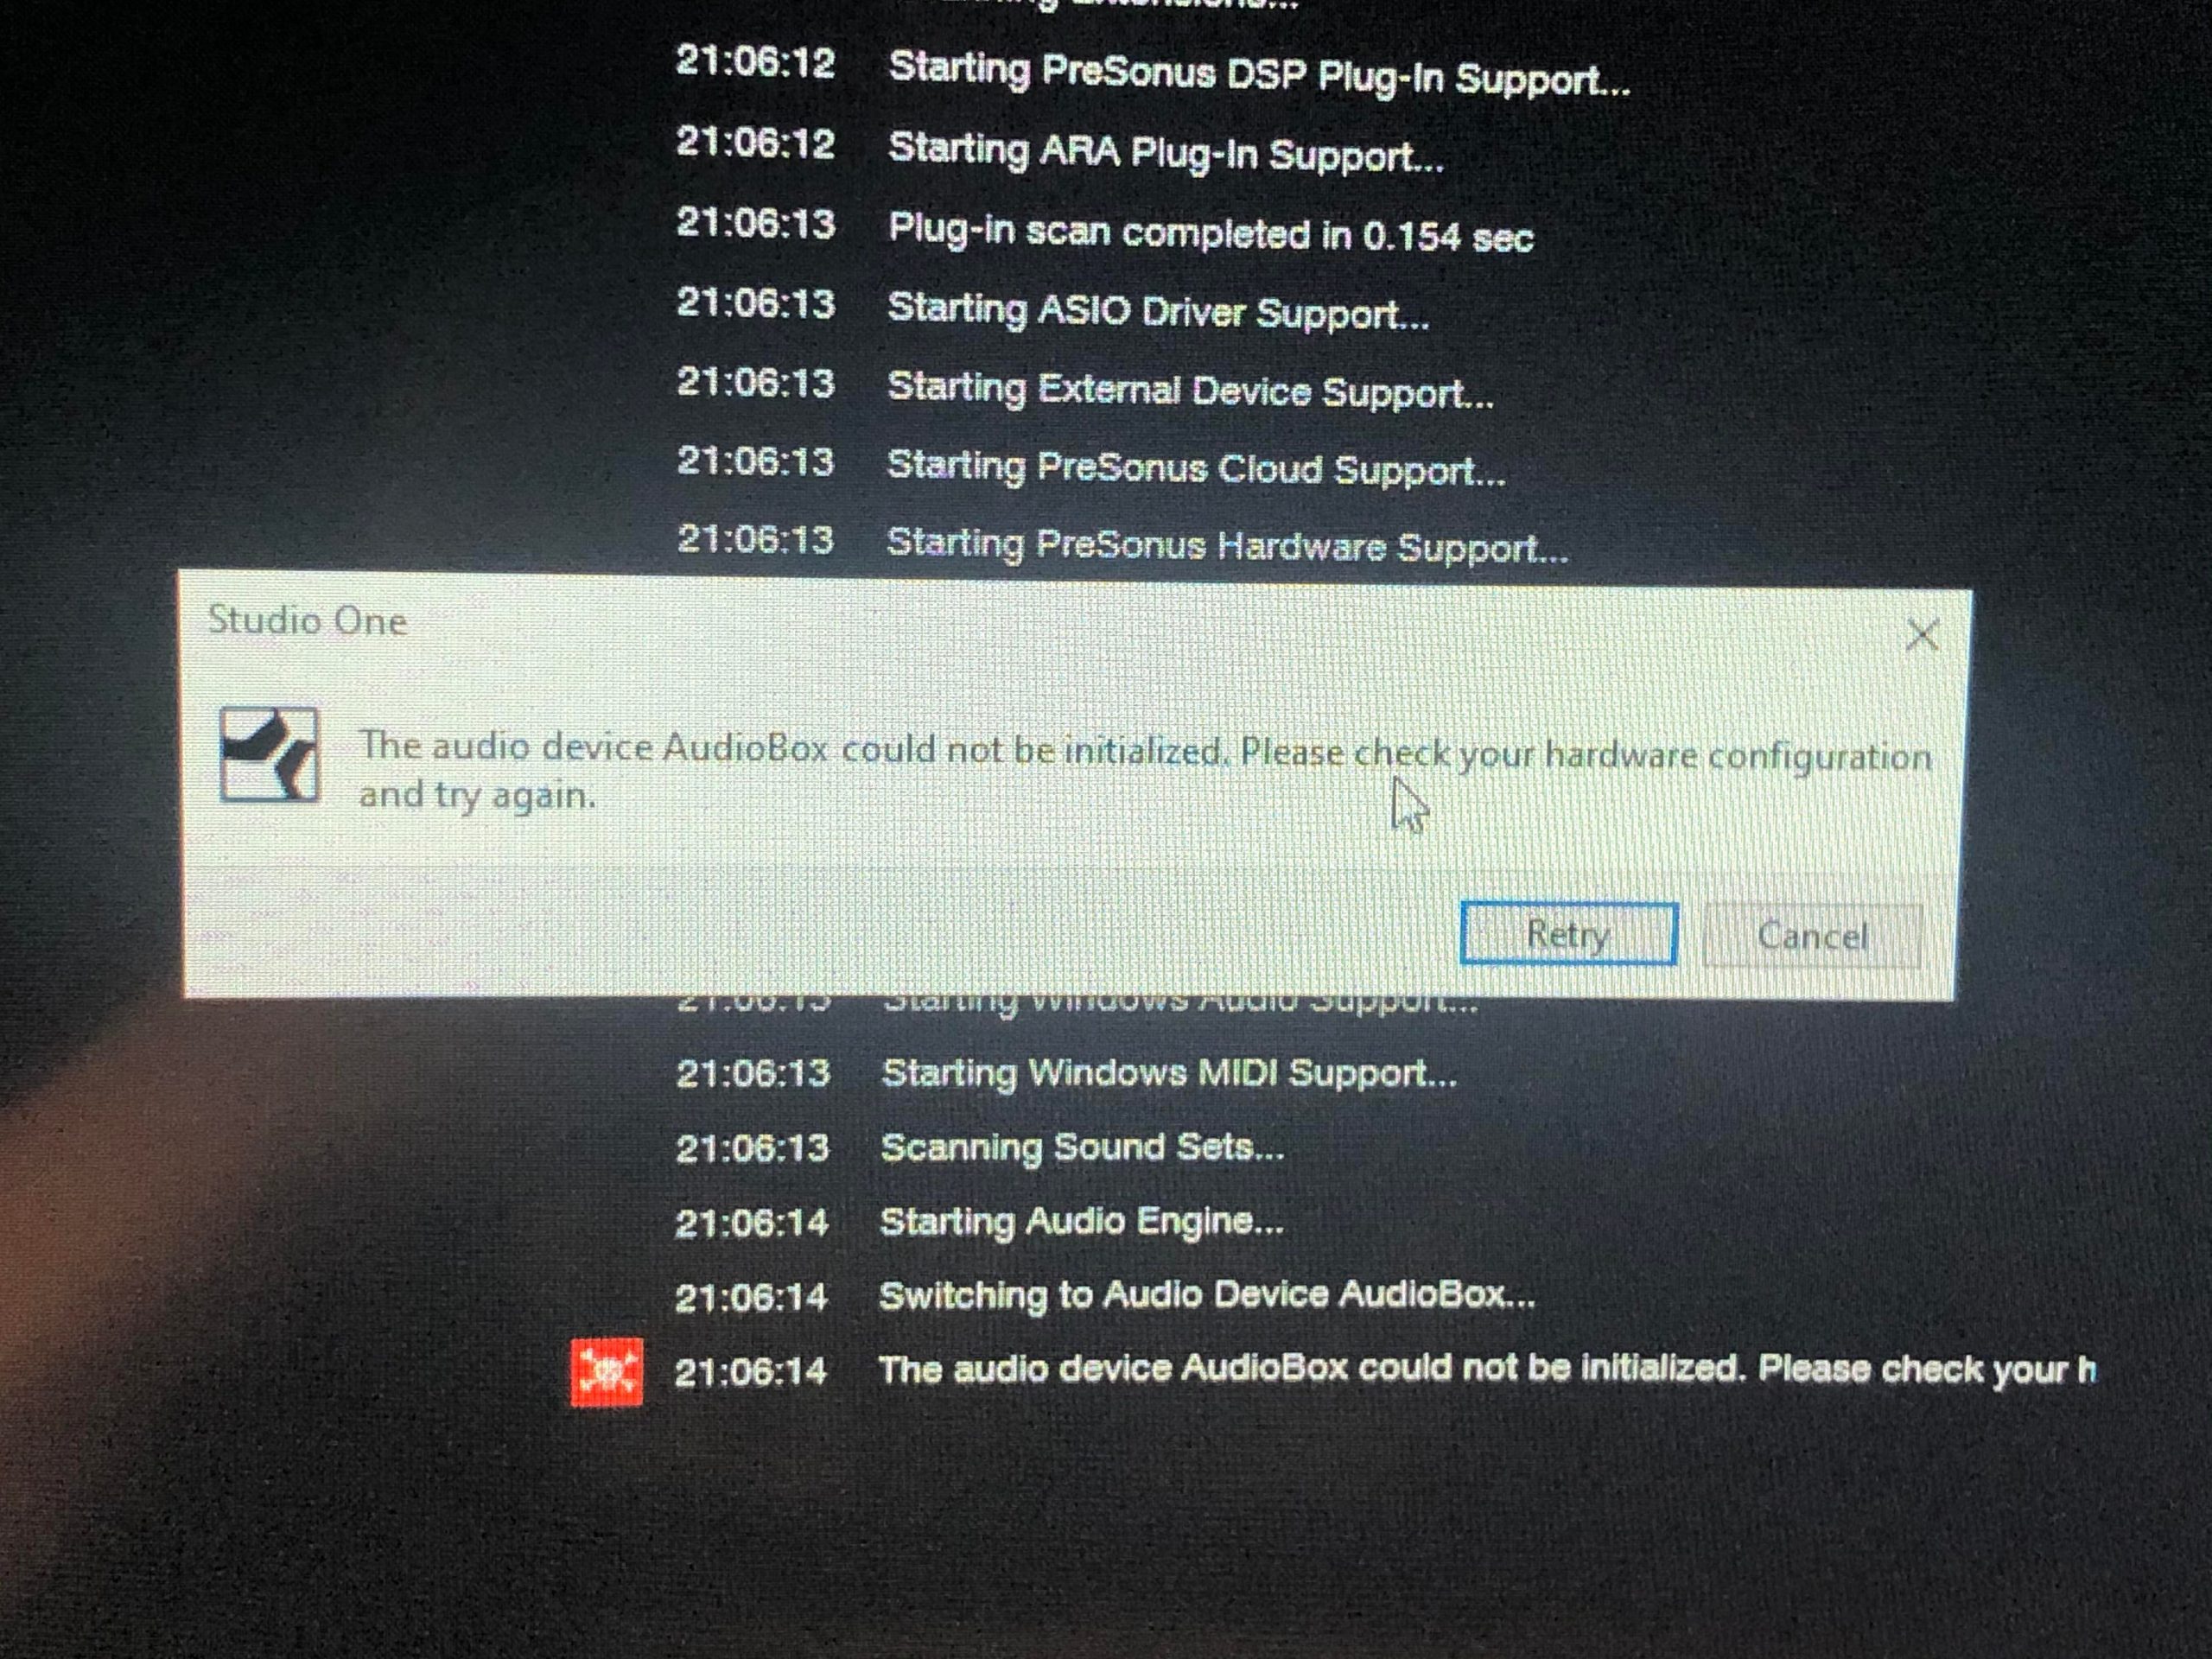
AudioBox could not be initialized is the result of the driver not being updated and the best thing to do is to update the driver. Additionally, you can change the USB port for AudioBox, disable onboard sound, restart the system and so on. You don’t know how to do everything on your own and could use some help? Then this article is exactly what you need.
What is AudioBox?
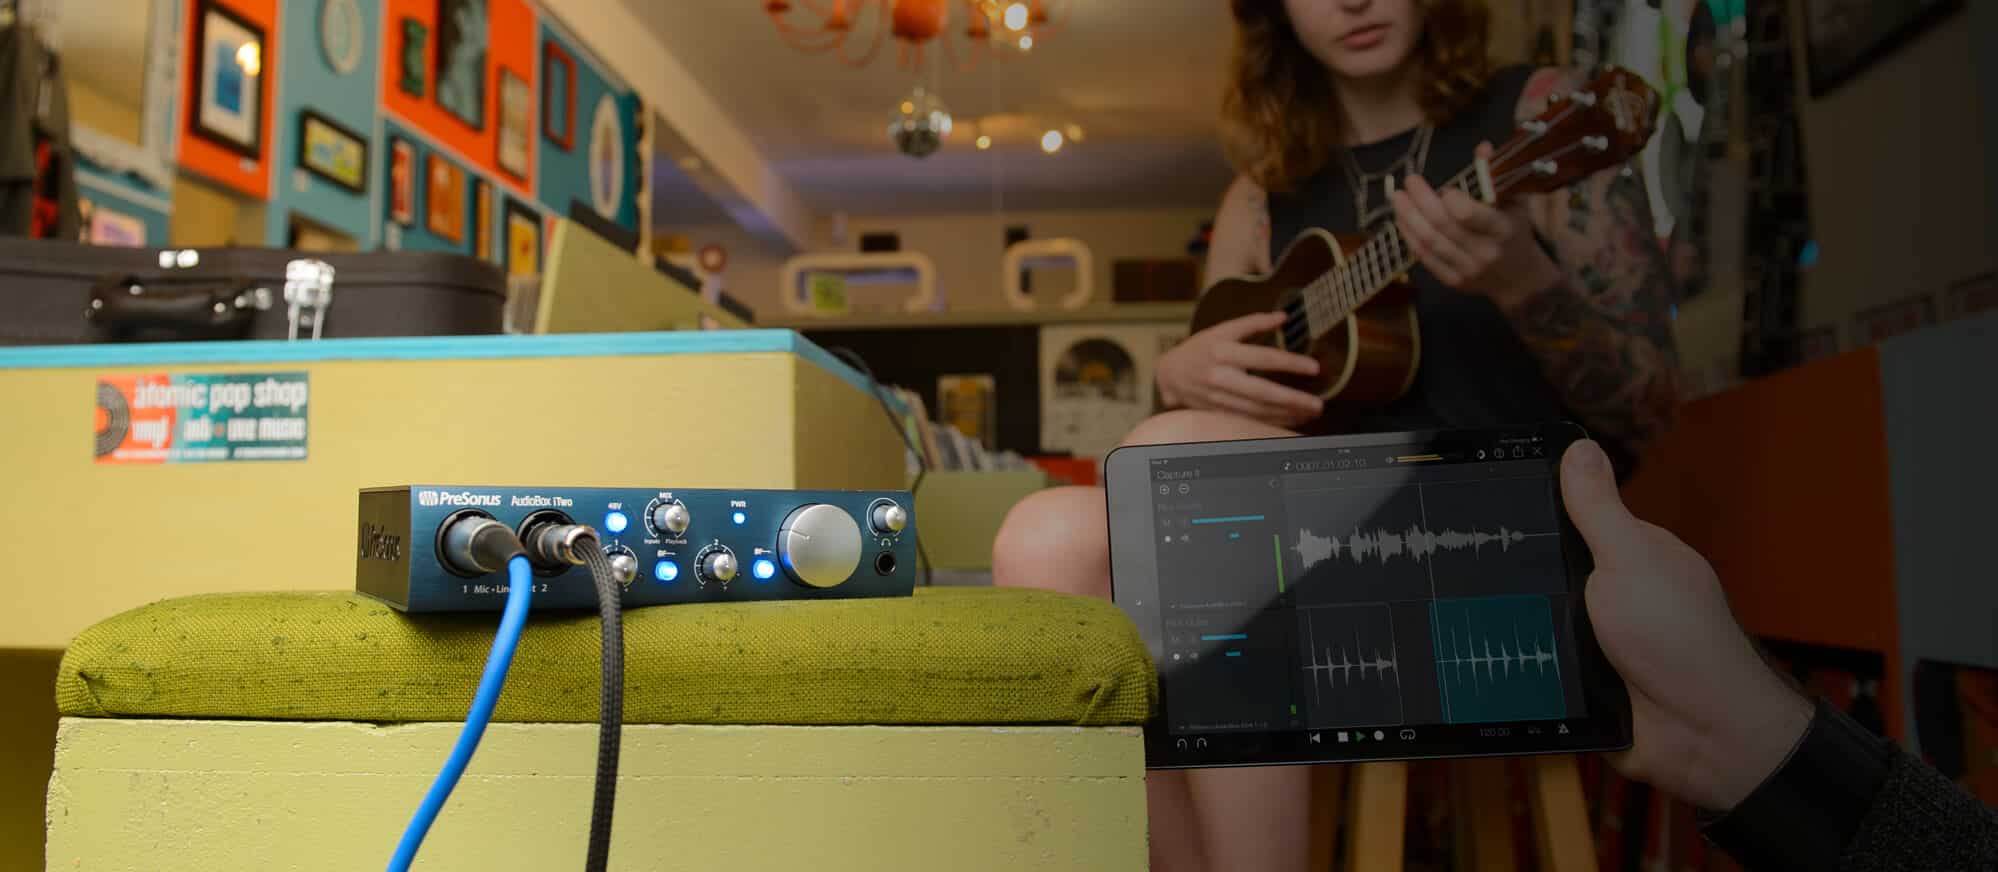
This is a mobile audio interface that everybody loves. You can connect a couple of mics or instruments, and you’ll enjoy its stereo recording system. You have a straightforward mix control that gives you full control of your input signal and that from your computer without any annoying interference. Though it comes in a tiny box, it has a deafening headphone output that will definitely allow you to hear your music loud and clear.
And why are so many users loving it? It’s very portable and can be easily connected to your computer via USB cable. Plus, it’s bundled with Studio One allowing you to start recording right away. The bundle is a good steal – you’ll absolutely enjoy working with AudioBox anywhere and anytime since it’s just USB-powered. Simply connect it to your laptop, and you’ll get an instant recording setup.
This is why it’s really a waste if you could not use your AudioBox because it could not be initialized. Don’t panic, this article offers several ways to solve this problem. Or, if you haven’t encountered this (hopefully you won’t), you’ll prepare yourself to troubleshoot it as soon as the error occurs. Let’s get directly into the fix.
AudioBox Could Not be initialized – Solved!
Your computer is a very complex system. Hence, you must understand a bit about it so when things fail, you can easily get on your feet again. Sometimes, even though there are no changes to the AudioBox or to the Studio One itself, if it sees conflict with some other apps, you’ll be thrown with this error. This article provides a wide range of solutions – from the general (obvious) methods towards the more AudioBox-centered troubleshooting. All the quick fixes are explained in detail so even if you don’t have any technical knowledge about your computer or with AudioBox, you can easily follow through.
Shut Down/Restart the System
This is probably the first thing that you can do in case things falter. Disconnect all the connections you have in your AudioBox and reboot it. You may unplug it from your computer. Restart your computer, as well. Now, connect AudioBox and one by one return all the wires back to where they are inserted in the audio interface. Hopefully, you can establish a fresh connection and get rid of the problem.
Change USB Port for AudioBox
There’s one user who encountered this error and figured out you can’t connect AudioBox to a USB 3.0 port. Hence, be familiar with the USB ports you have on your computer or laptop. You can only connect the audio interface to a USB 2.0 port. Supposedly, it’s not a big deal since USB 3.0 port is designed to be backward compatible, but not with the AudioBox.
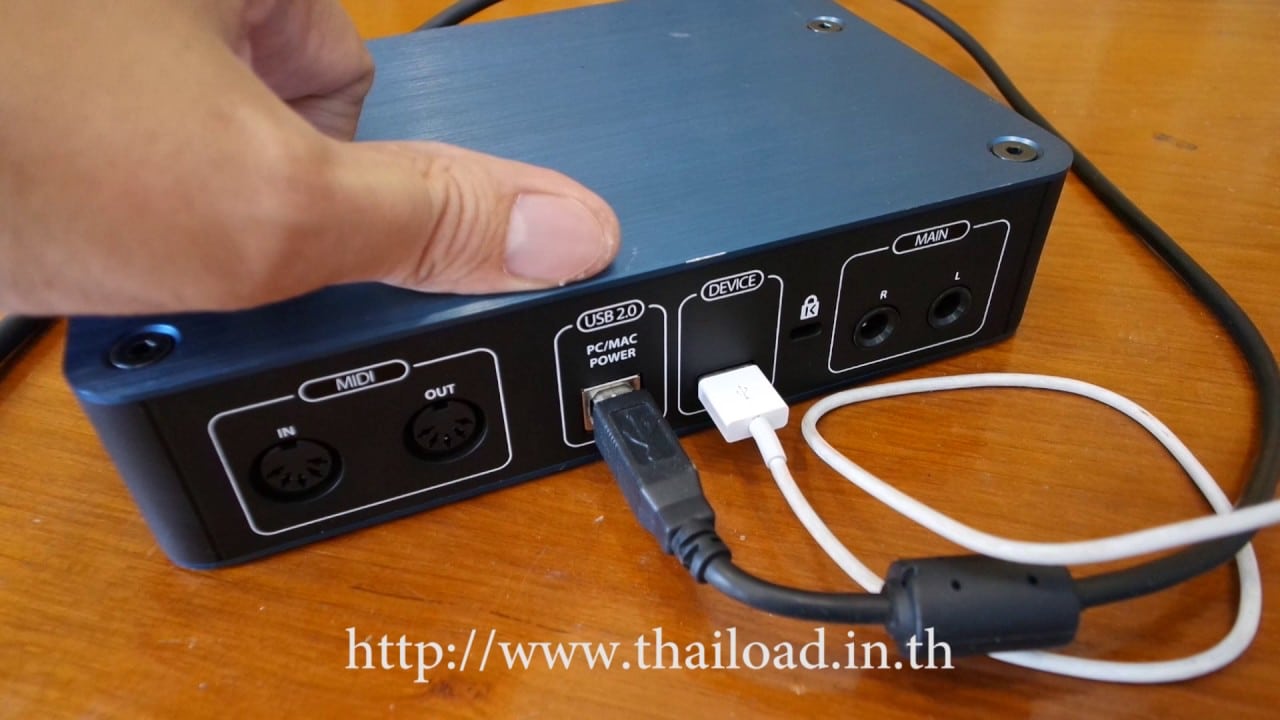
If it’s still not working with any of the USB ports you have, perhaps, it’s the cable that causes the issue. Switch to a new USB cable, but make sure it’s really a good one.
Disable All Onboard Sound
Just to make sure that AudioBox is working, you might want to disable other onboard sound drivers as suggested in a Reddit forum. To do this, look for the speaker icon in the taskbar and right-click on it, then select Sounds. Then in the Sound popup window, go to Playback tab and select all other sound devices and disable them one by one. Alternatively, you can also follow this YouTube video on how this is being done.
If you need to use the other playback device, just enable it. Again, right-click the speaker icon in the taskbar and select Sounds. In the Sounds popup window, navigate to the Playback tab. Select the device you want to enable. Right-click on it and select Enable. Hopefully, it will not have a conflict with your AudioBox again.
Uninstall/Reinstall AudioBox Driver
Perhaps during the installation process, there are missing components, that’s why you get some problems with the AudioBox. To uninstall and reinstall the driver, simply follow these instructions:
- Hold the Windows key and press E.
- Go Drive C:\ then Program Files> PreSonus folder > AudioBox or AudioBox VSL folder. (If you can’t find neither the PreSonus folder nor the AudioBox or AudioBox VSL folder proceed to the next method.)
- Look for the ‘Uninstall.exe’ application and run it. The uninstallation wizard will guide you to successfully go through the process.
Getting Rid of Any Residual Entries after AudioBox driver is removed.
- Right-click on the Start menu>System.
- The Settings window will appear.
- Click on the Advanced system settings in the right panel of the window and the System Properties window will pop up.
- Navigate to the Advanced tab (if you are not yet there) and click on Environment Variables.
- Under “User variables for [Your Username],” click “New…“
- Enter devmgr_show_nonpresent_devices for Variable Name.
- Enter 1 for Variable Value.
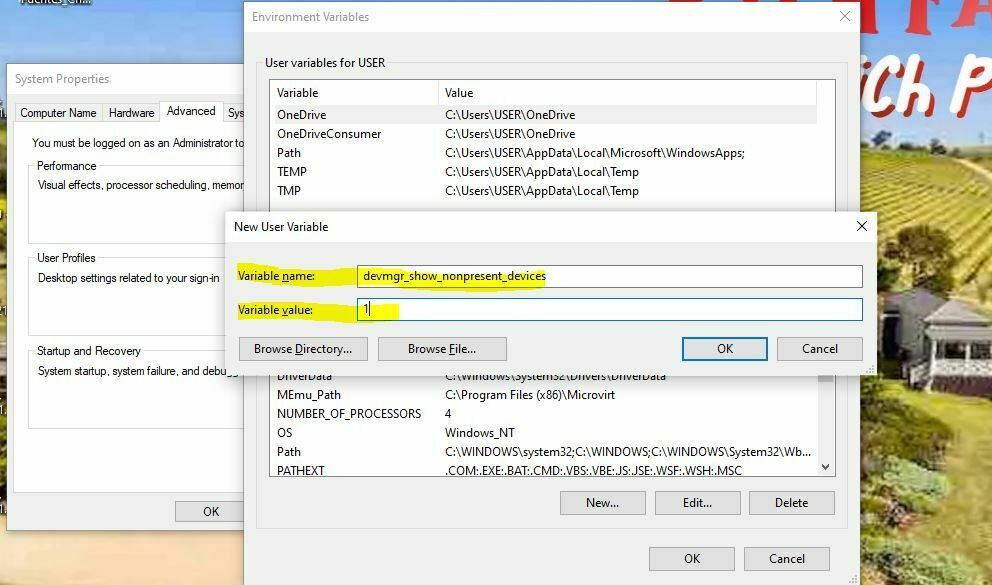
- Click the OK button to close.
- Click OK button in the System Properties dialog box to close it.
- You’re back in the main Settings window. Click Device Manager in the right panel.
- In the Device Manager window, click View>Show Hidden Devices.
- Check for entries like “AudioBox”, “USB Audio Device,” and the like. If you can find them, right-click on that item and select Uninstall Driver. You can find these entries under Universal Serial Bus Controllers, Sound, Video, and Game Controllers, Other Devices, or under the most obvious PreSonus USB Audio Devices. If you can’t find anything related to AudioBox that means you have gotten rid of it already.
Get the Latest Driver
As mentioned in the introduction, it’s partly related to AudioBox driver. Therefore, if you haven’t updated your driver, make sure to do it now. Go to PreSonus website and download the latest driver you can get specific to the AudioBox you have.
Make sure that you quit all web browsers or any other application prior to the installation of the new driver. Furthermore, you can also disable or make exceptions for the AudioBox in your Antivirus so all the components will be properly installed. Then, install the new driver as you do with your previous one.
Conclusion
When dealing with problems related to audio interfaces, the most common reasons would be the cable, the driver, if it has conflict with other apps, and the USB ports. In AudioBox could not be initialized issue, this article has provided you detailed instructions to help you get rid of this fast. Free yourself from this problem and enjoy the great possibilities brought to you by AudioBox.

Hi music fan! I am Jeff. Hope that you enjoy some stuff I shared here in my personal blog.
About myself, Currently I am in charging as Artist Manager/Music Supervisor at 72 Music Management. I did managed album to Grammy Award in 2017 with 7 Nominations from 2014-2020 and had the opportunities to work with : A.J. Croce, Blind Boys of Alabama, Bobby Rush, Dom Flemons, Dustbowl Revival, Sarah Grace
Governor of the Memphis Chapter of The Recording Academy is one of a award that I am lucky to achieved.