Contents
Known as Fruity Loops till the year of 2003, FL Studio is a type of digitalised audio workstation which has been developed by a software development company from Belgium, known as Image Line. Compared to other digitalised audio workstations, the FL Studio consists of an advanced MIDI sequencer as well as an interactive user interface, which contains numerous functions. In this article, you will find out How to Add Samples to FL Studio 12.
Talking about the available versions, FL Studio is generally retailed under 4 variants, namely Signature Bundle, Producer Edition, All-Plugins Bundle and the Fruity Edition. One thing which makes FL Studio one of the most widely accepted DAWs in the entire world is that it functions on all types of operating systems, and whether you own an Apple product or a Windows product, you will face no issues with this particular software.
Apart from this, one thing which should be discussed here is that the developers of this product guarantee a lifetime-free update to the software and thus, once you buy an FL Studio, you will not need to worry about any updates or glitches.
How to add samples to FL Studio 12
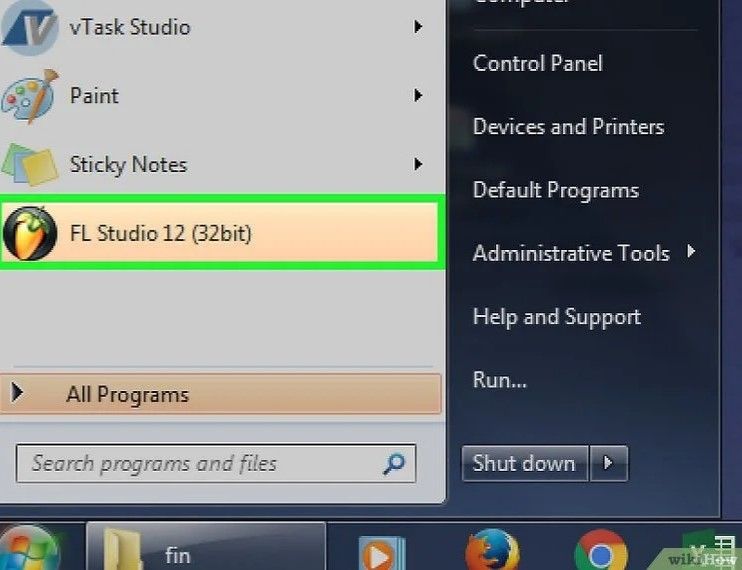
- Firstly, launch the FL Studio app from your homepage.
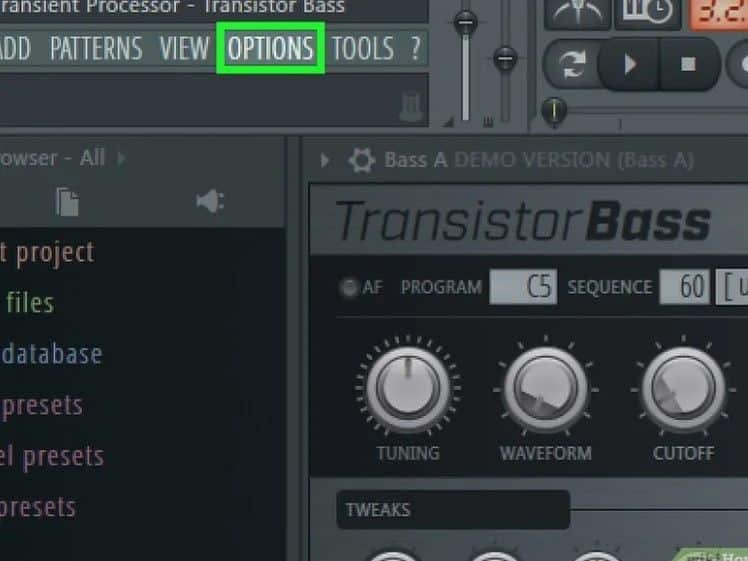
- After this, you need to click on the tab showing “Options”, which you can find on the top left corner of your app’s homepage.
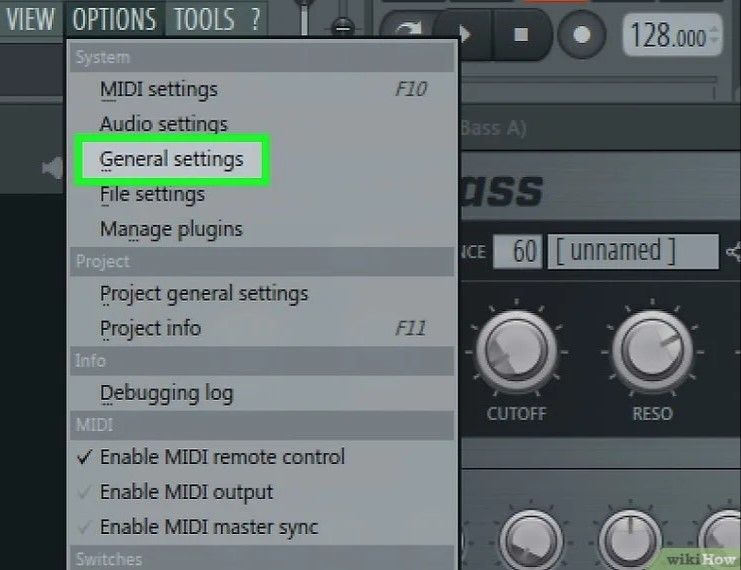
- Now, you need to click on the tab of “General Settings”, which you will find in the drop-down menu from Options.
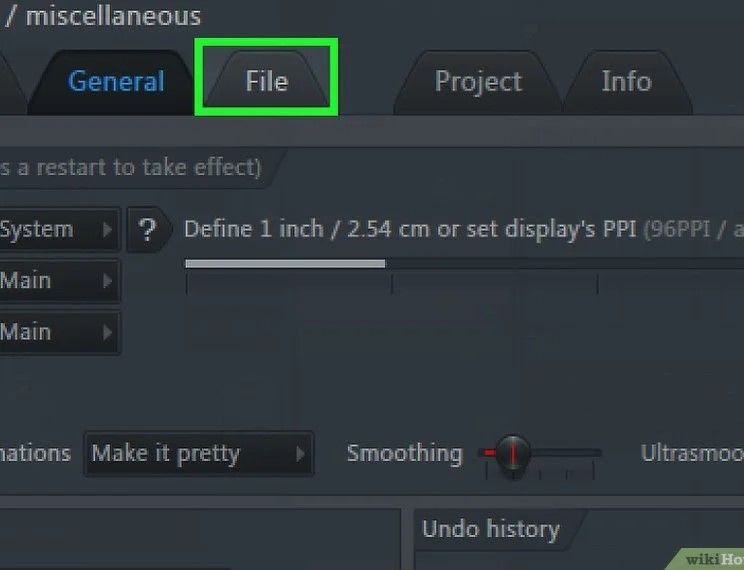
- Click on the tab of “File”, which you can find on the top of the Settings page.
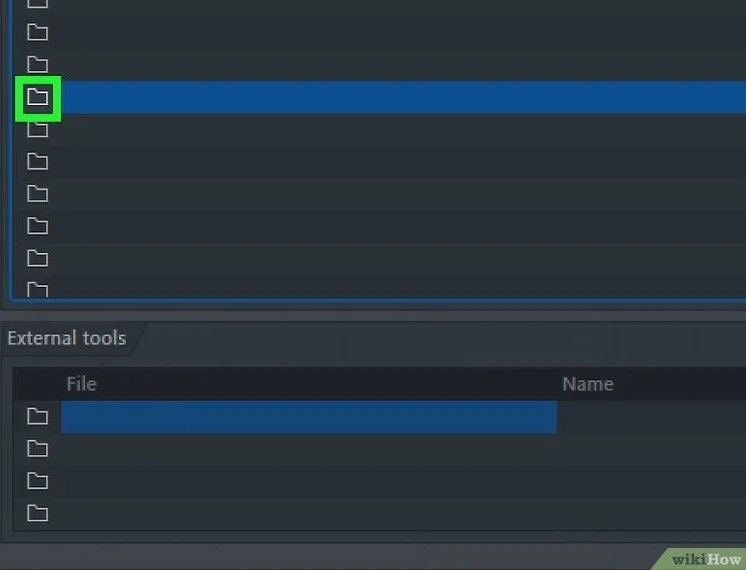
- In this step, you will need to click on an empty folder under the “Browser extra search folders” tab. You can spot it on the leftmost side of the interface of FL Studio and once you click on one folder, you will be able to launch a window, where you will be able to store your samples.
- Now, you will need to click on the folder named “Sound sample”, which depends on the location where you have stored your samples.
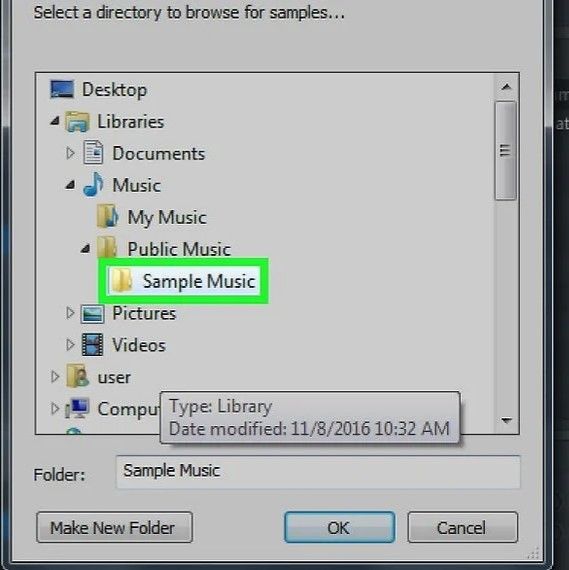
- Now, once you have found your required sound sample, you will just need to click “OK” and the sound sample will be imported to FL Studio 12.
The Primary Features of FL Studio
Talking about the primary elements of the FL Studio, each and every track which is composed on the platform of FL Studio requires the following three basic elements; the pattern, mixer and the song itself.
So, let us learn a bit more about these elements of FL Studio:
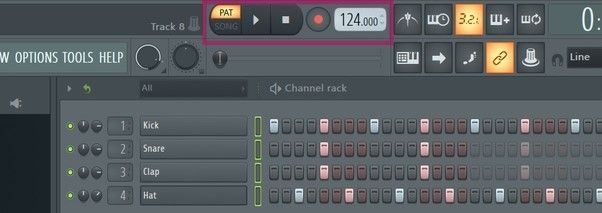
The Pattern
The pattern is, perhaps, the most initial step before creating a track on the platform of FL Studio.
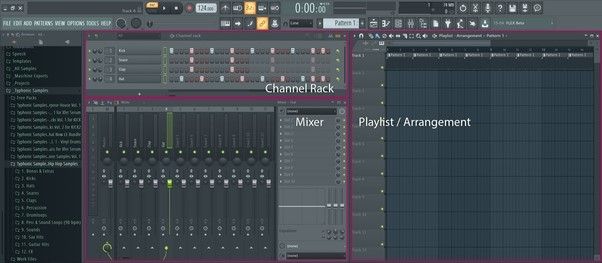
So, once you start to create a track on the FL Studio, 4 samples of sounds get loaded into their respective channels automatically. These samples are a kick, snare, clap and hat. You can easily toggle with peace samples as well as their channels by right-clicking and left-clicking on your mouse. Apart from that, if you wish to change the samples downloaded in the earlier step, you can import various samples from the library which we will learn in the latter part of this article.
Playlist, where you need to compile all the bits of your track
To be precise, this is the step where you will need to compile all the samples to prepare your track. In order to do so, you can rearrange all the patterns which you have created in the earlier step to your choice and comfort.
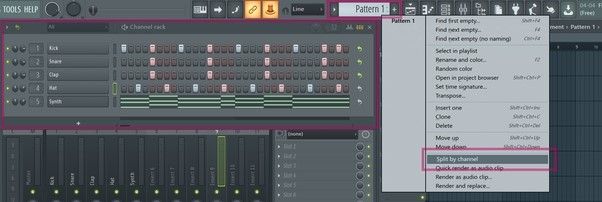
- Firstly, you will need to left-click on the top of the FL Studio app interface and drag any of the patterns which you would like to utilize for composing your tracks.
- Secondly, in order to control which pattern has to start and stop, you will need to split the patterns by channels. To do so, you will first need to right-click on the relevant pattern which you want to alter and select on the tab showing “Split by channel”.
The Mixer to provide the final touch to your track
Although it has been seen that most of the beginners and amateurs do not tend to use the mixer, yet, as one grows more comfortable with the system and the user interface, they start to use it extensively for giving a great finishing touch to their tracks. The mixer is quite an important parameter for a music producer as it not only allows one to alter the volumes of each pattern, but it also helps to add a wide range of effects, which takes the track to a whole new level.
So, let us learn a bit about the mixer section of FL Studio 12.
- The default channels which are pre-installed on the FL Studio have been automatically synchronized with the mixer track.
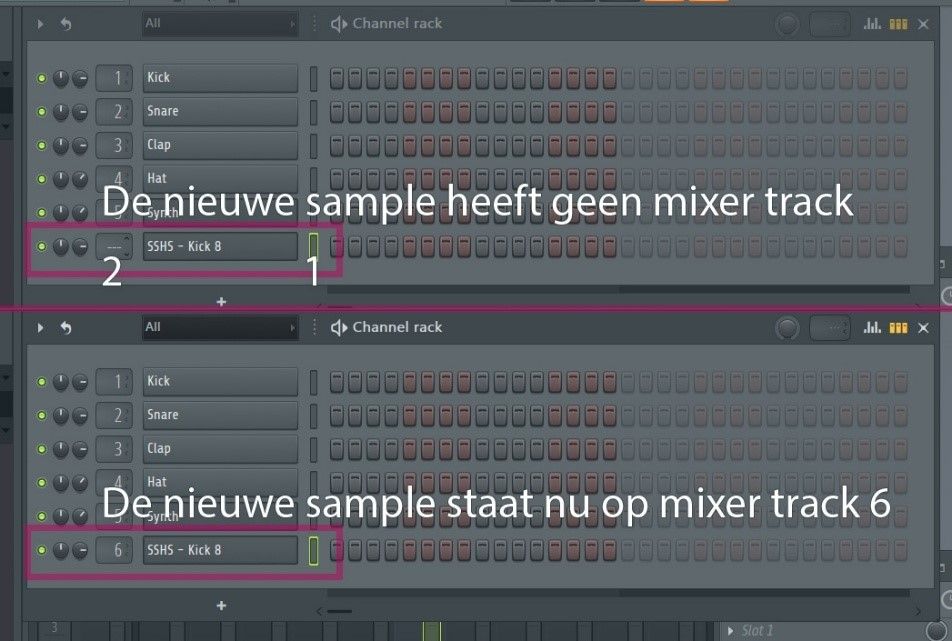
- Apart from this, you can also attach the channels which you have designed to the mixer track. In order to do so, you will need to select the channel which you want to attach and press “CTRL+L”. In this way, you can add a channel of your choice to the mixer track.
- Similar to the above option, you can also opt for adding multiple numbers of customized channels which you can sync with the mixer track. You will just need to assign them a unique channel number and in order to do this, you will need to press down your mouse in the point where the mixer track is in the required channel rack.
Apart from these, you can also add various effects to your mixer track. In order to do so, you will just need to left-click on “Menu” on the top right of the software. Once you click on it, you will be able to see a wide range of sound effect which you can easily use in your tracks to give it a classy finishing touch.

So, this is how all the basic elements of FL Studio function. Although you will face quite a lot of difficulties during your initial stage, yet, with continuous practice, you will be able to Add Samples to FL Studio 12.

Hi music fan! I am Jeff. Hope that you enjoy some stuff I shared here in my personal blog.
About myself, Currently I am in charging as Artist Manager/Music Supervisor at 72 Music Management. I did managed album to Grammy Award in 2017 with 7 Nominations from 2014-2020 and had the opportunities to work with : A.J. Croce, Blind Boys of Alabama, Bobby Rush, Dom Flemons, Dustbowl Revival, Sarah Grace
Governor of the Memphis Chapter of The Recording Academy is one of a award that I am lucky to achieved.