Contents
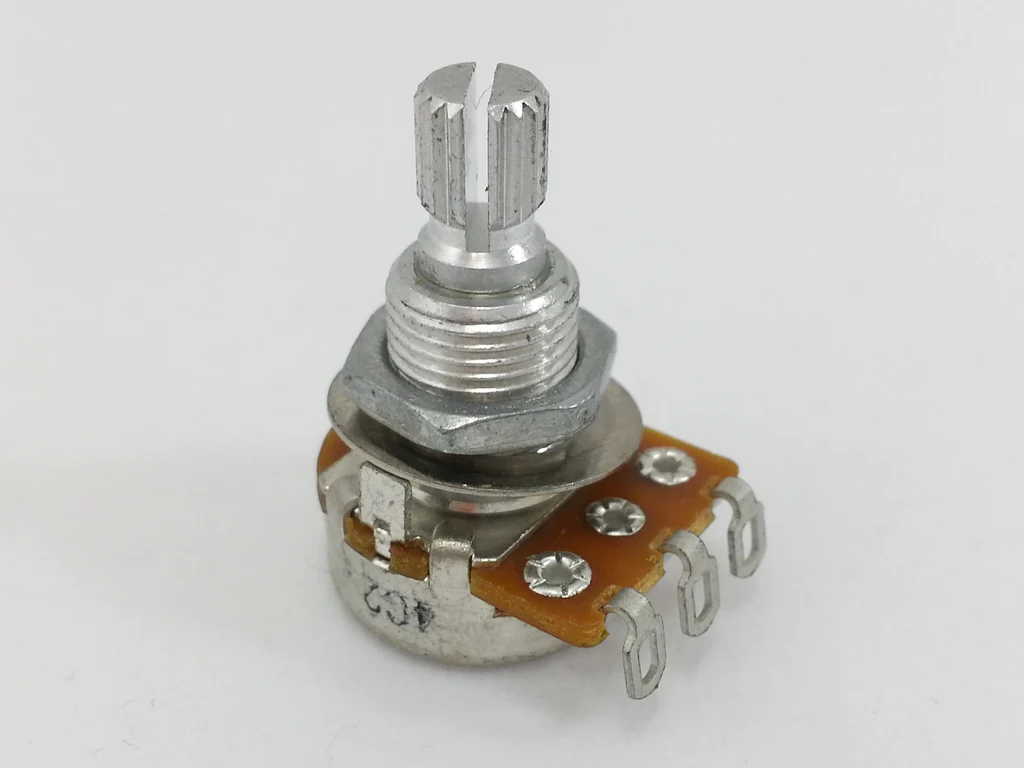
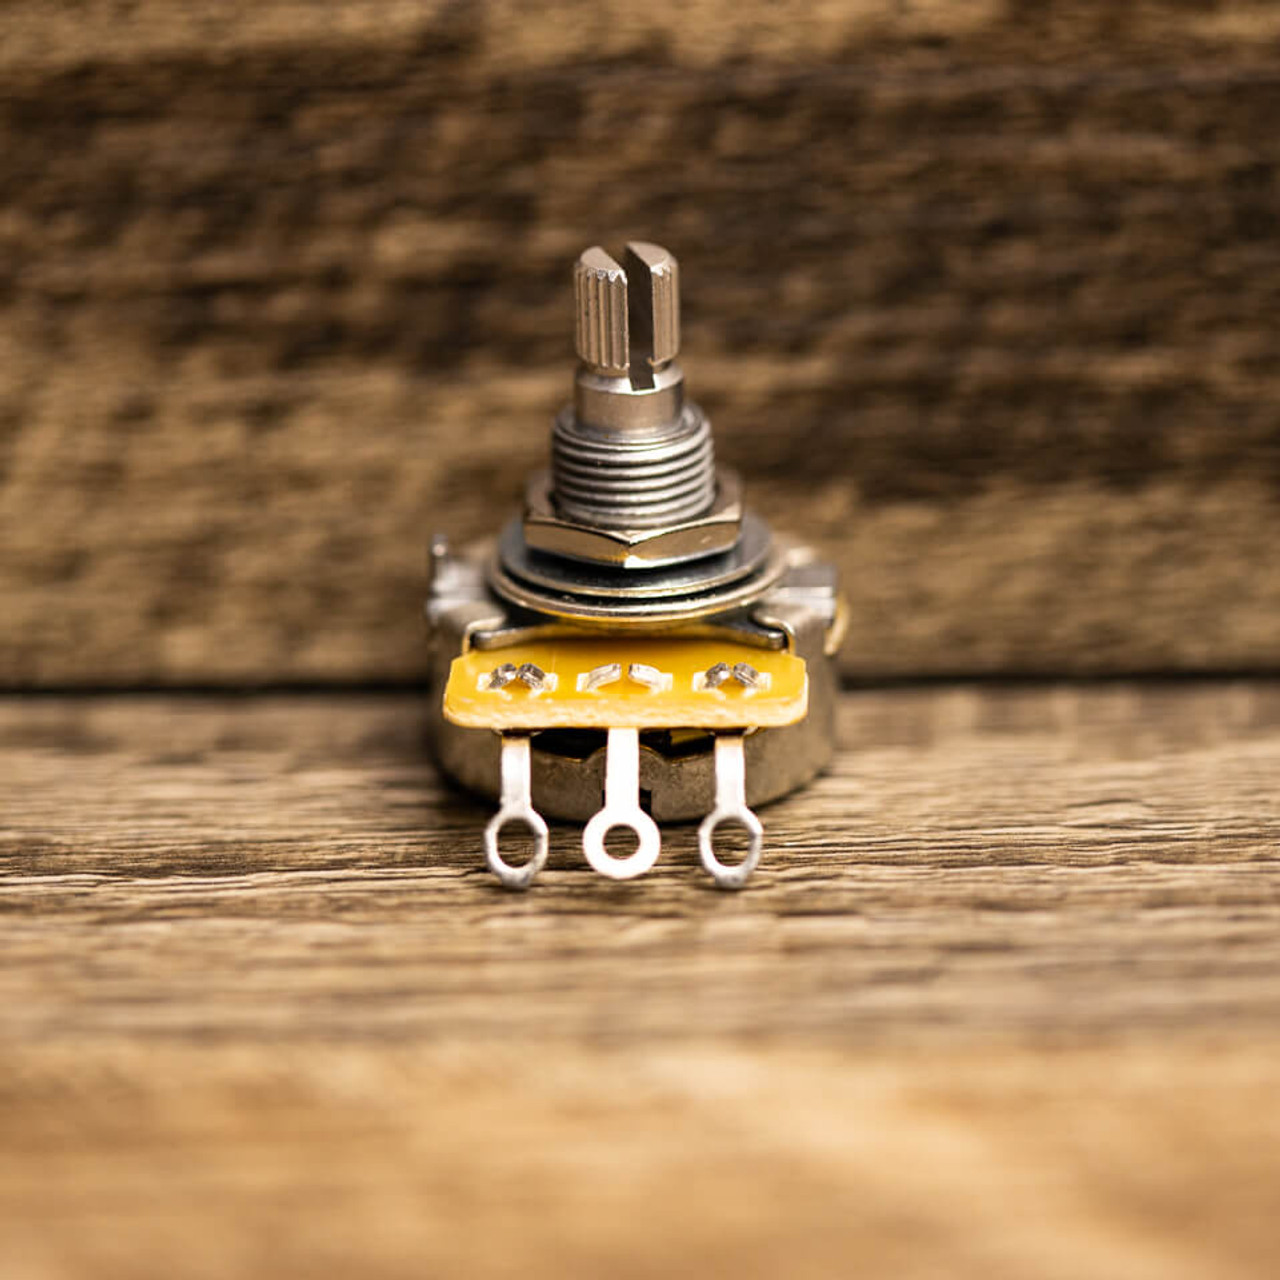
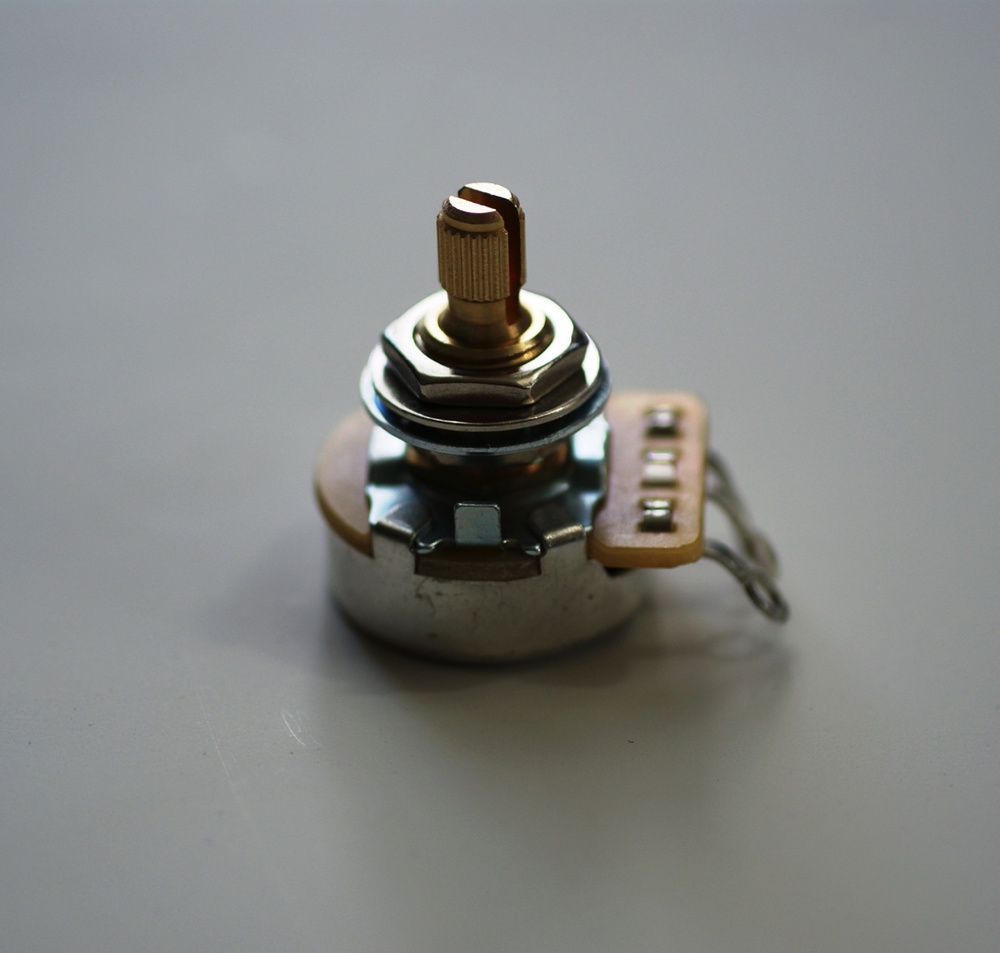
Nowadays, a wide range of guitar potentiometers exist but the market in essence contains two types of models: audio taper pots and linear taper pots. Since not everyone is an expert in potentiometers, the topic of audio taper vs. linear taper piques the curiosity of many guitarists around the globe.
If you have trouble grasping the characteristics of audio taper pots and linear taper pots, my article may be of use to you. Down below is all the information that you must keep in mind about the two types of potentiometers. By reading to the end of the article, you should be able to gain a complete understanding of the pots and what they can do. The knowledge you obtain here will let you identify fitting pots for your guitar with relative ease.
A Summary Of The Pots
Overview
To put it plainly, all guitar potentiometers have the same purpose: control volume and tone. However, it’s important to point out that audio taper pots and linear taper pots don’t share the same operation principles.
In audio taper pots, the amount of change they apply is not uniform across levels and the second half levels usually apply the biggest changes. Here is an example: Let’s say that you can cycle between ten levels from “1” to “10. If you use audio taper pots, the amount of change that the first five levels (“1”, “2”, “3”, “4” and “5”) apply should be minuscule. However, when you go past “5” into “6”, “7”, “8”, “9” and “10”, you will notice a spike in the amount of change.
In linear taper pots, as the name suggests, they apply the same amount of change across levels. For instance, if you use linear taper pots and you can cycle between ten levels then “1” should equal 10% and “10” should equal 100%. Of course, a number of factors also influence the amount of change in reality and the quality of pots is a prime example. For most of the time, pots from reputable brands like CTS, Bourns and so on outmatch the rest once it comes to accuracy, consistency, ….
Usage
For your information, different manufacturers think differently regarding the usage of audio taper pots and linear taper pots. Fender uses audio taper pots for both volume and tone while Gibson uses audio taper pots for volume and linear taper pots for tone. Noteworthily, it’s not uncommon for manufacturers to switch and swap between types of pots/orders of pots which reflect the ever-changing usage of pots in guitar. Needless to say, the community is also at odds about the winner in audio taper vs. linear taper.
Conclusion
In layman’s terms, it’s up to you to decide which types of potentiometers you want to have on your guitars as well as their order. The audio taper for volume – linear taper for tone order works well in most of the cases but don’t hesitate to experiment.
|
Audio Taper Pots |
Linear Taper Pots |
|
-Amount of change across levels is not uniform -Suitable for quick increases/decreases |
-Amount of change across levels is the same -Suitable for accurate increase/decreases |
The Replacement Of Pots: Guidelines
You always have the option of hiring others to replace the pots if you prefer to do things by yourself, follow these steps:
- Step 1: In the beginning, it’s strongly recommended you take a picture of the wiring of your guitar. By doing so, you should have an easy time connecting the right wires to the right components.
- Step 2: Put on gloves and goggles then proceed to turn on your soldering iron. As the soldering iron heats up, use the opportunity to cover your guitar in towels to protect its exterior.
- Step 3: Desolder pickup and ground wires to disconnect them then remove the controls. After you finish, unbolt the pots, switch and jack socket before pulling them out of the guitar.
- Step 4: Determine whether the new pots, switch and jack socket sit snugly in the cavity. Depending on the situation, you may need to engage the cavity a bit and your round file should be a fitting tool for the job. For good measure, file a bit, see if the cavity is capable of accommodating the new pots and only resume filling if necessary. Move to the next step when the cavity becomes big enough to take in the new pots.
- Step 5: File away some of the casing of the pots as well as the ground tab to ensure proper adherence. Next, solder the two center tabs together then apply solder to each tab on the new pots, switch and jack socket. Aside from that, apply solder to the casing of each pot for the ground wires.
- Step 6: Strip the end of the wires and solder their tips on each pot, switch and jack socket. Keep the length of the new wires as close as possible to that of the originals.
- Step 7: Upon completion, insert everything into your guitar, rewatch the wires and strike some chords

Hi music fan! I am Jeff. Hope that you enjoy some stuff I shared here in my personal blog.
About myself, Currently I am in charging as Artist Manager/Music Supervisor at 72 Music Management. I did managed album to Grammy Award in 2017 with 7 Nominations from 2014-2020 and had the opportunities to work with : A.J. Croce, Blind Boys of Alabama, Bobby Rush, Dom Flemons, Dustbowl Revival, Sarah Grace
Governor of the Memphis Chapter of The Recording Academy is one of a award that I am lucky to achieved.