Contents
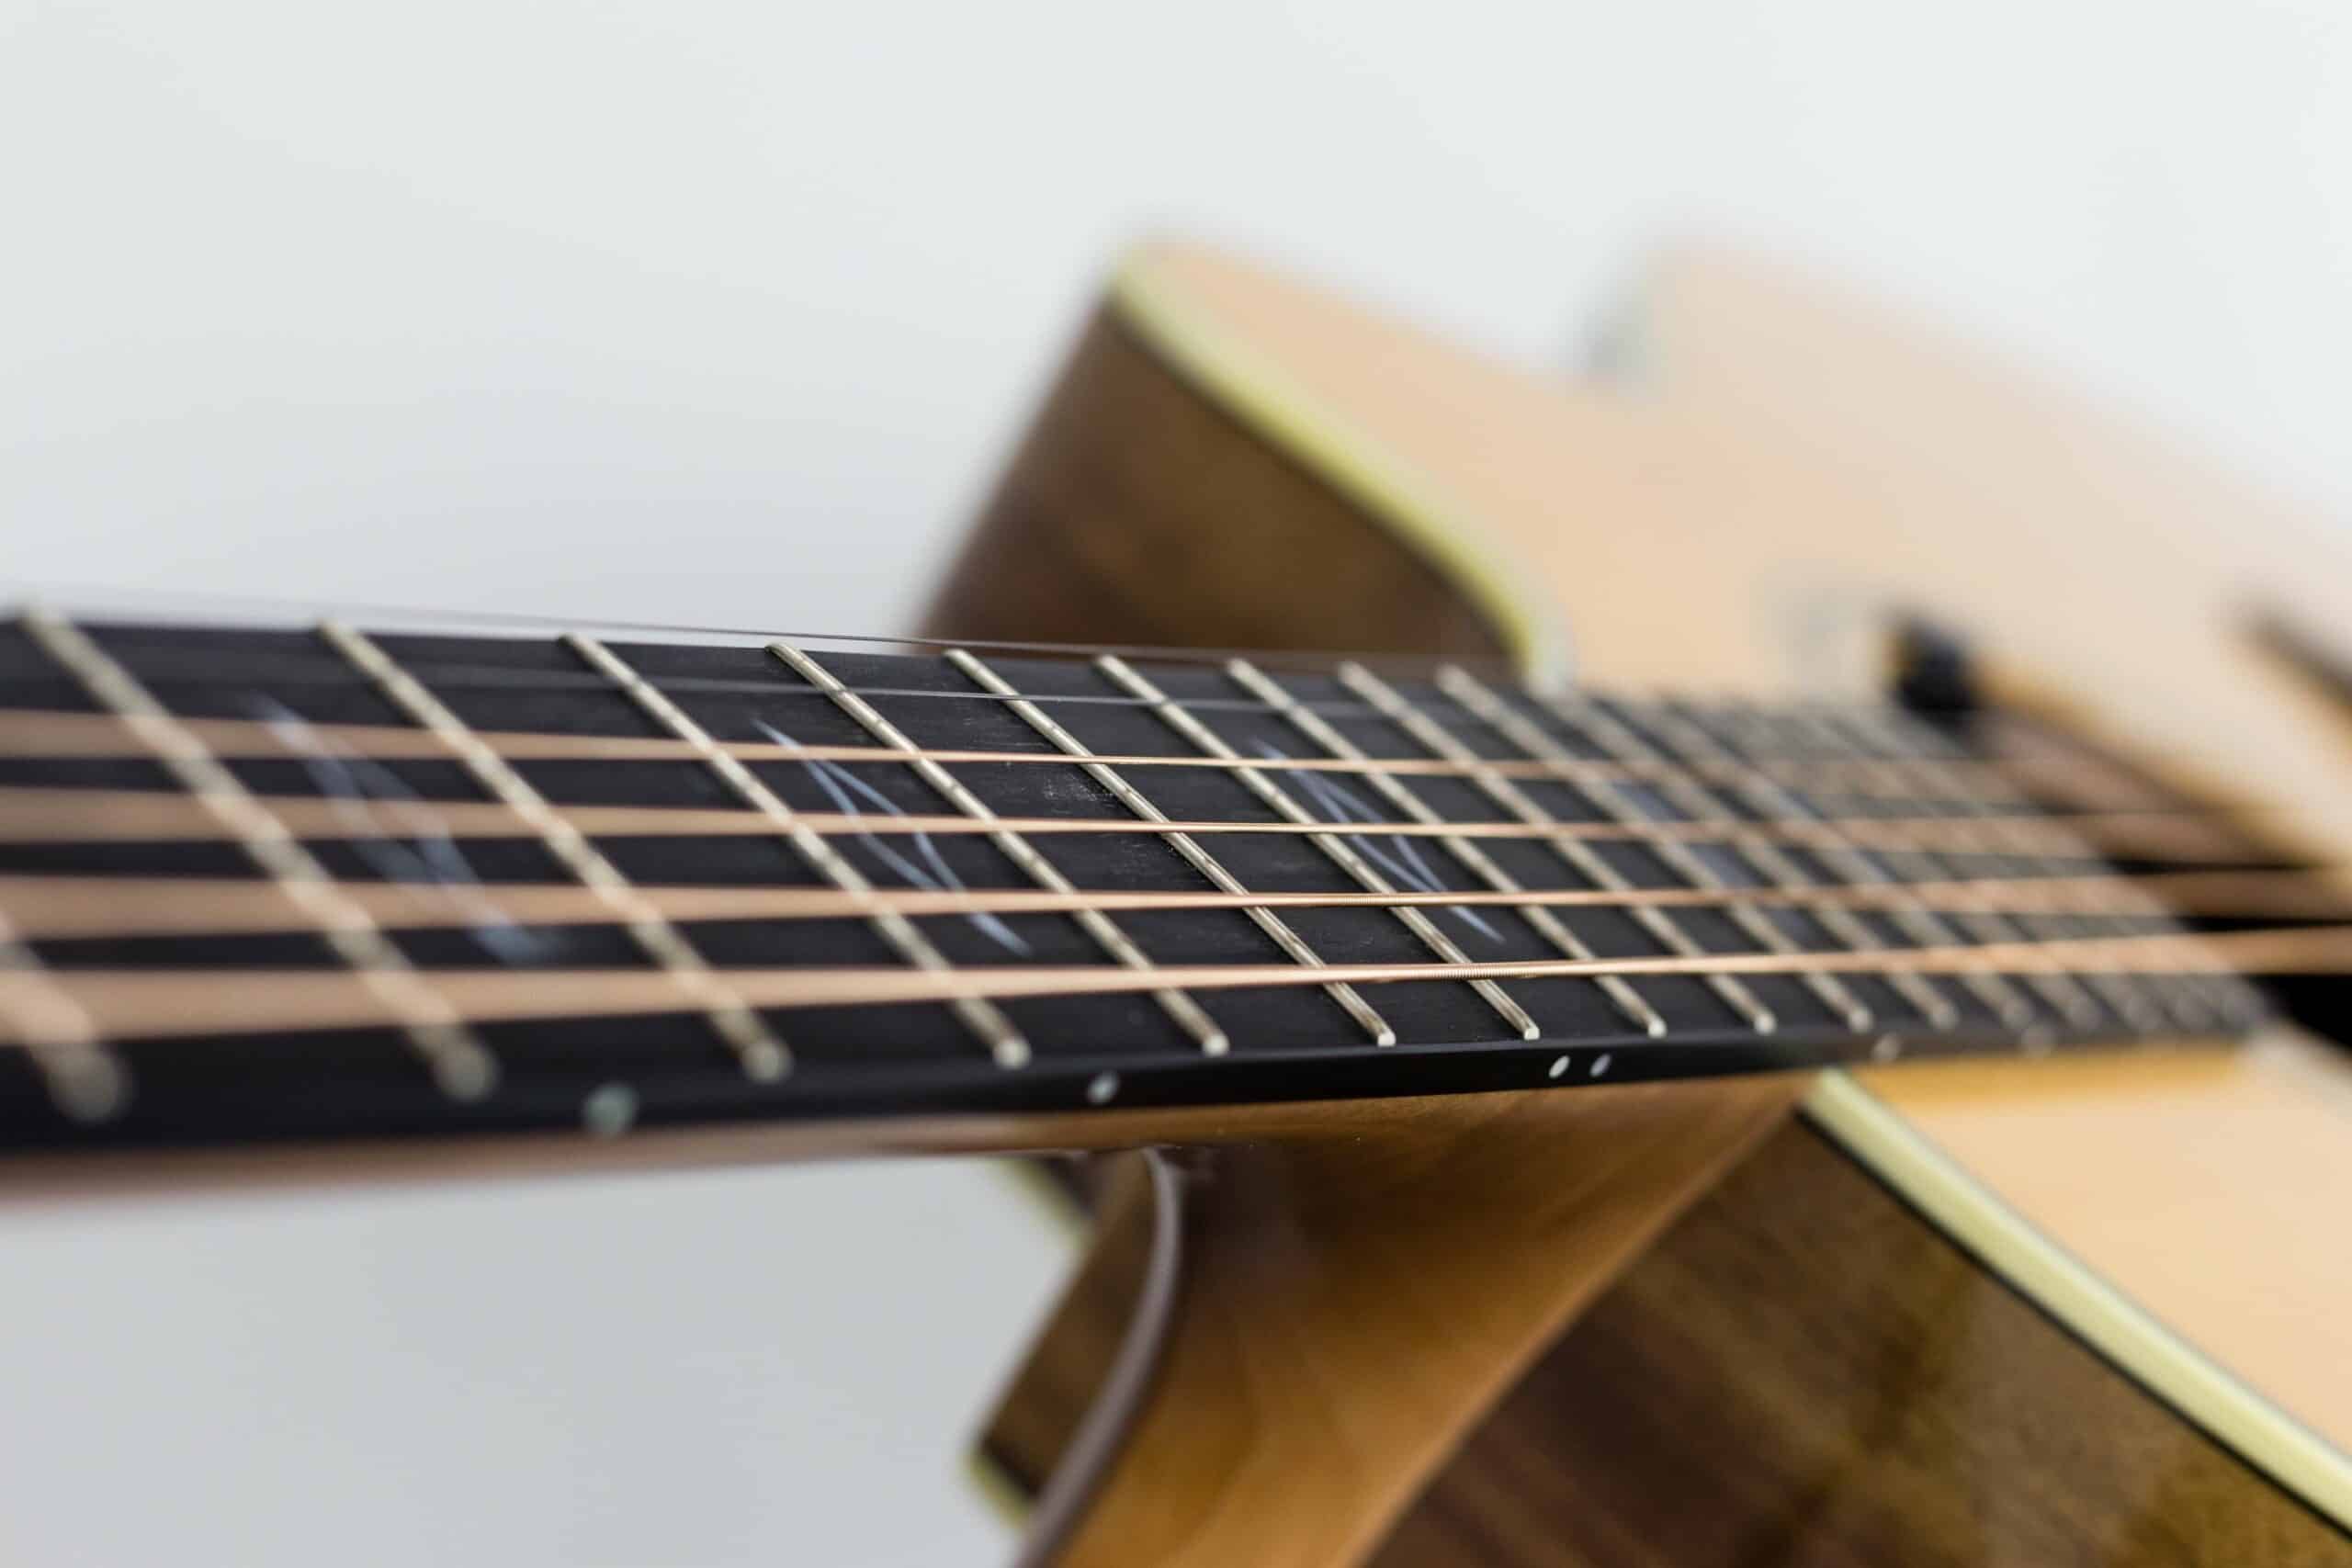
In guitars, a bowed neck is a common neck deformation that results in variable tone changes, making it all buzzy and resulting in frustration. While truss rod can help, that option is not available in every model so how to fix a bowed guitar neck without a truss rod is a hotly discussed topic. At the moment, different guitarists resort to different methods but the simplest one is using heat and pressure to return the guitar neck to normal. Read till the end to fix the deformation by yourself.
Preparation
All in all, to deal with a bowed guitar neck, you need a couple of tools. Don’t worry, you should be able to find most of the following around your house:
- Bench clamps
- Clean cloth (old T-shirts will do in a pinch)
- Clothing iron
- Measuring tape
- String winder (optional)
Note: If you have access to a dedicated guitar-bending machine, feel free to take advantage of it to take care of the neck deformation. Still, if you know how to put the above tools to use, it’s possible to tackle the bowed guitar neck in the absence of guitar-bending machines.
Execution
- Step 1: Attach the string winder to each machine head simultaneously, twist the winder till the string becomes loose, uncoil the string from the machine head’s barrel, cut the wire with a wire trimmer and slide the remaining string out through the bridge.
- Step 2: Set up your guitar on a spacious place such as a workbench, use the measuring tape to measure the distance between the bench and the bottom of the guitar neck then note down the distance. Keep two bench clamps approximately 12 inches apart then proceed to adjust the clamps at the same height as the distance between the guitar neck and the bench previously measured.
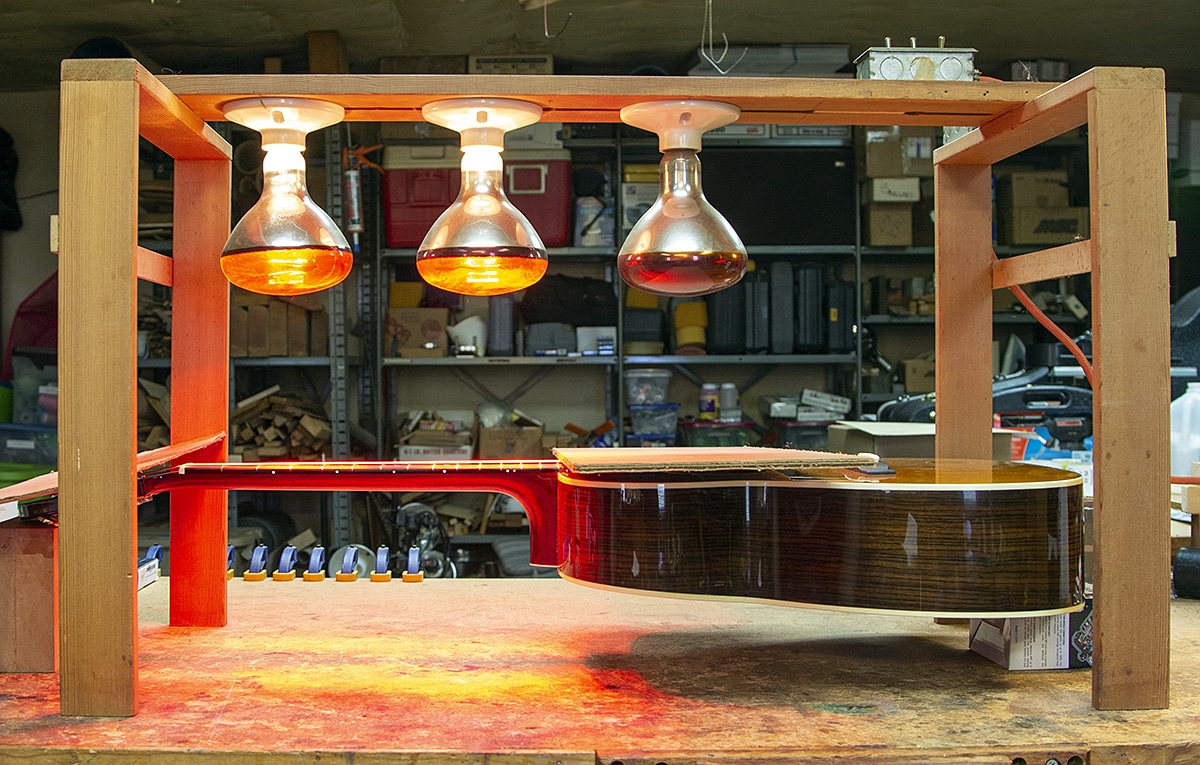
- Step 3: Turn on the cloth iron and set it on medium heat then let it warm up. Meanwhile, cover the neck of the guitar in cloth. You should also wrap some cloth around the body to protect the surface and the finish.
- Step 4: Run the iron over around six frets in the joint of the neck and the body for about 2 minutes. The heat is going to melt the glue and allow a small movement in the neck joint.
Two Clamps
- Step 5A: Put the guitar facing the ceiling, adjust the neck position so it’s in between the center of the two clamps and gently tighten the clamps near the head of the guitar. Make sure that the tension of the clamps is enough to block movements.
- Step 6A: Gently tighten the second clamps to push down the bottom of the neck and realign the bowed neck. Last but not least, leave the clamps on the guitar overnight for the glues to dry.
Three Clamps
- Step 5B: Place the guitar facing the ceiling, position the neck in between the center of the two clamps, put another clamp in between the two clamps on the guitar and tighten the third to restrict movement. Tighten the clamps near the body when the neck is straightened.
- Step 6B: Give the glues some time (at least a night) to dry.
Note: These steps are for a guitar neck that is bowed backward. If your guitar neck is bowed forward, you must put more pressure on the clamp at the top of the neck.
Causes Of Bowed Neck: Complication
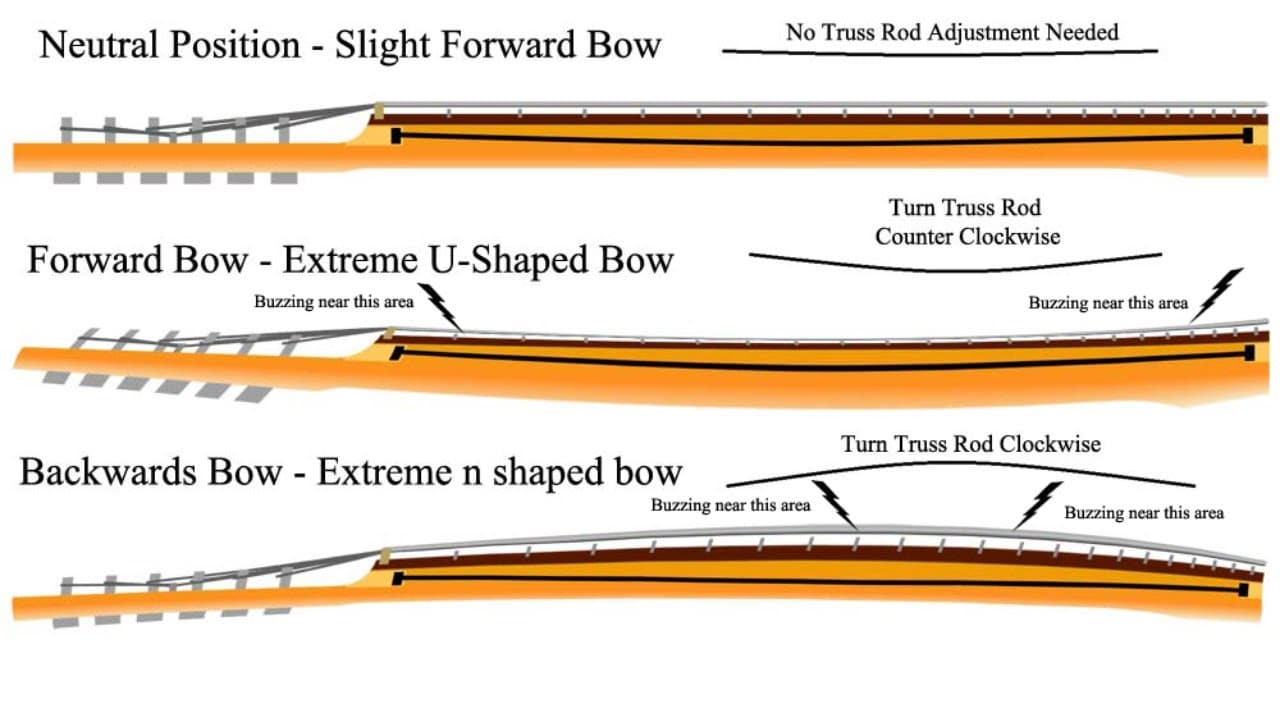
Regarding the curvature of the neck in relation to the strings, a small amount of forward relief is considered necessary. Typically, the amount measures around 0.008 inch (0.2 mm) to ensure that the strings do not buzz against the frets during play. The back bow occurs when the neck develops a reverse curve, bending away from the strings. One situation where a back bow can occur is when a guitar neck undergoes a refret, and the new frets are slightly too large for the fret slots.
The scenario is prevalent on ebony fingerboards as the dense nature of ebony can make it challenging for the frets to fit snugly in the slots. Additionally, a back bow can also be observed on newly built guitars that employ water-based glue to attach the fingerboard.
A Summary Of Truss Rod
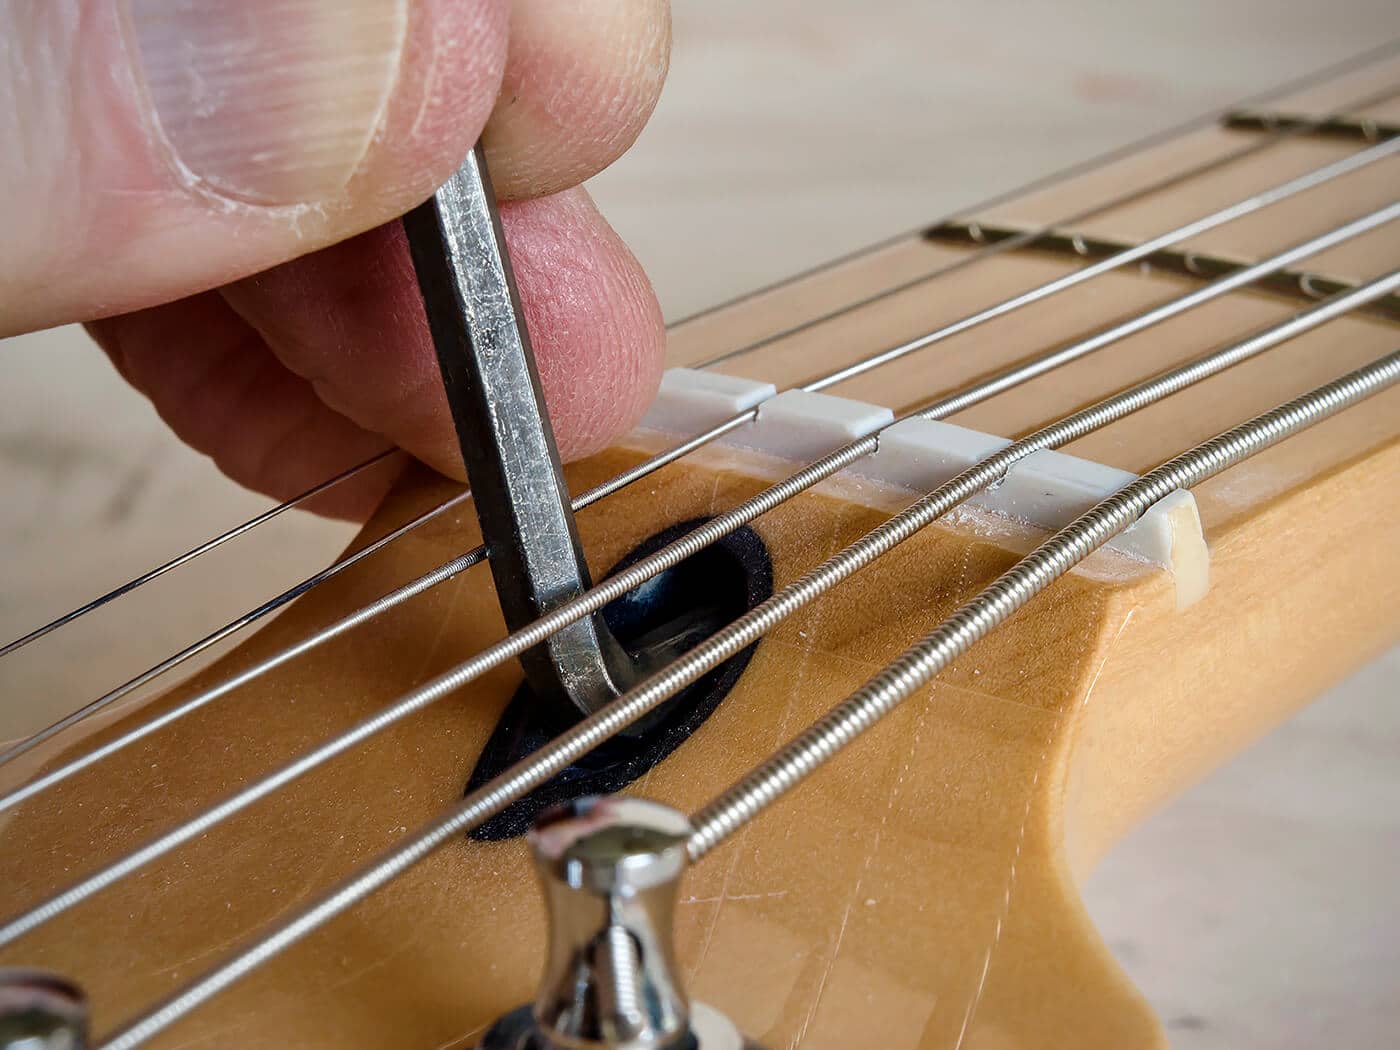
The truss rod is a slender metal rod that spans the entire length of a guitar’s neck. In guitars, it extends from the nut to the point where the neck meets the body, known as the heel.
The primary purpose of the truss rod in both electric and acoustic steel-string guitars is to provide stability to the neck by counteracting the tension exerted by the strings. For your information, the strings apply significant force to the guitar, especially if they use light gauge acoustic strings, which cause the neck and bridge to be pulled upwards. The truss rod plays a crucial role in balancing the tension and preventing the neck from bending.

Hi music fan! I am Jeff. Hope that you enjoy some stuff I shared here in my personal blog.
About myself, Currently I am in charging as Artist Manager/Music Supervisor at 72 Music Management. I did managed album to Grammy Award in 2017 with 7 Nominations from 2014-2020 and had the opportunities to work with : A.J. Croce, Blind Boys of Alabama, Bobby Rush, Dom Flemons, Dustbowl Revival, Sarah Grace
Governor of the Memphis Chapter of The Recording Academy is one of a award that I am lucky to achieved.