
Contents
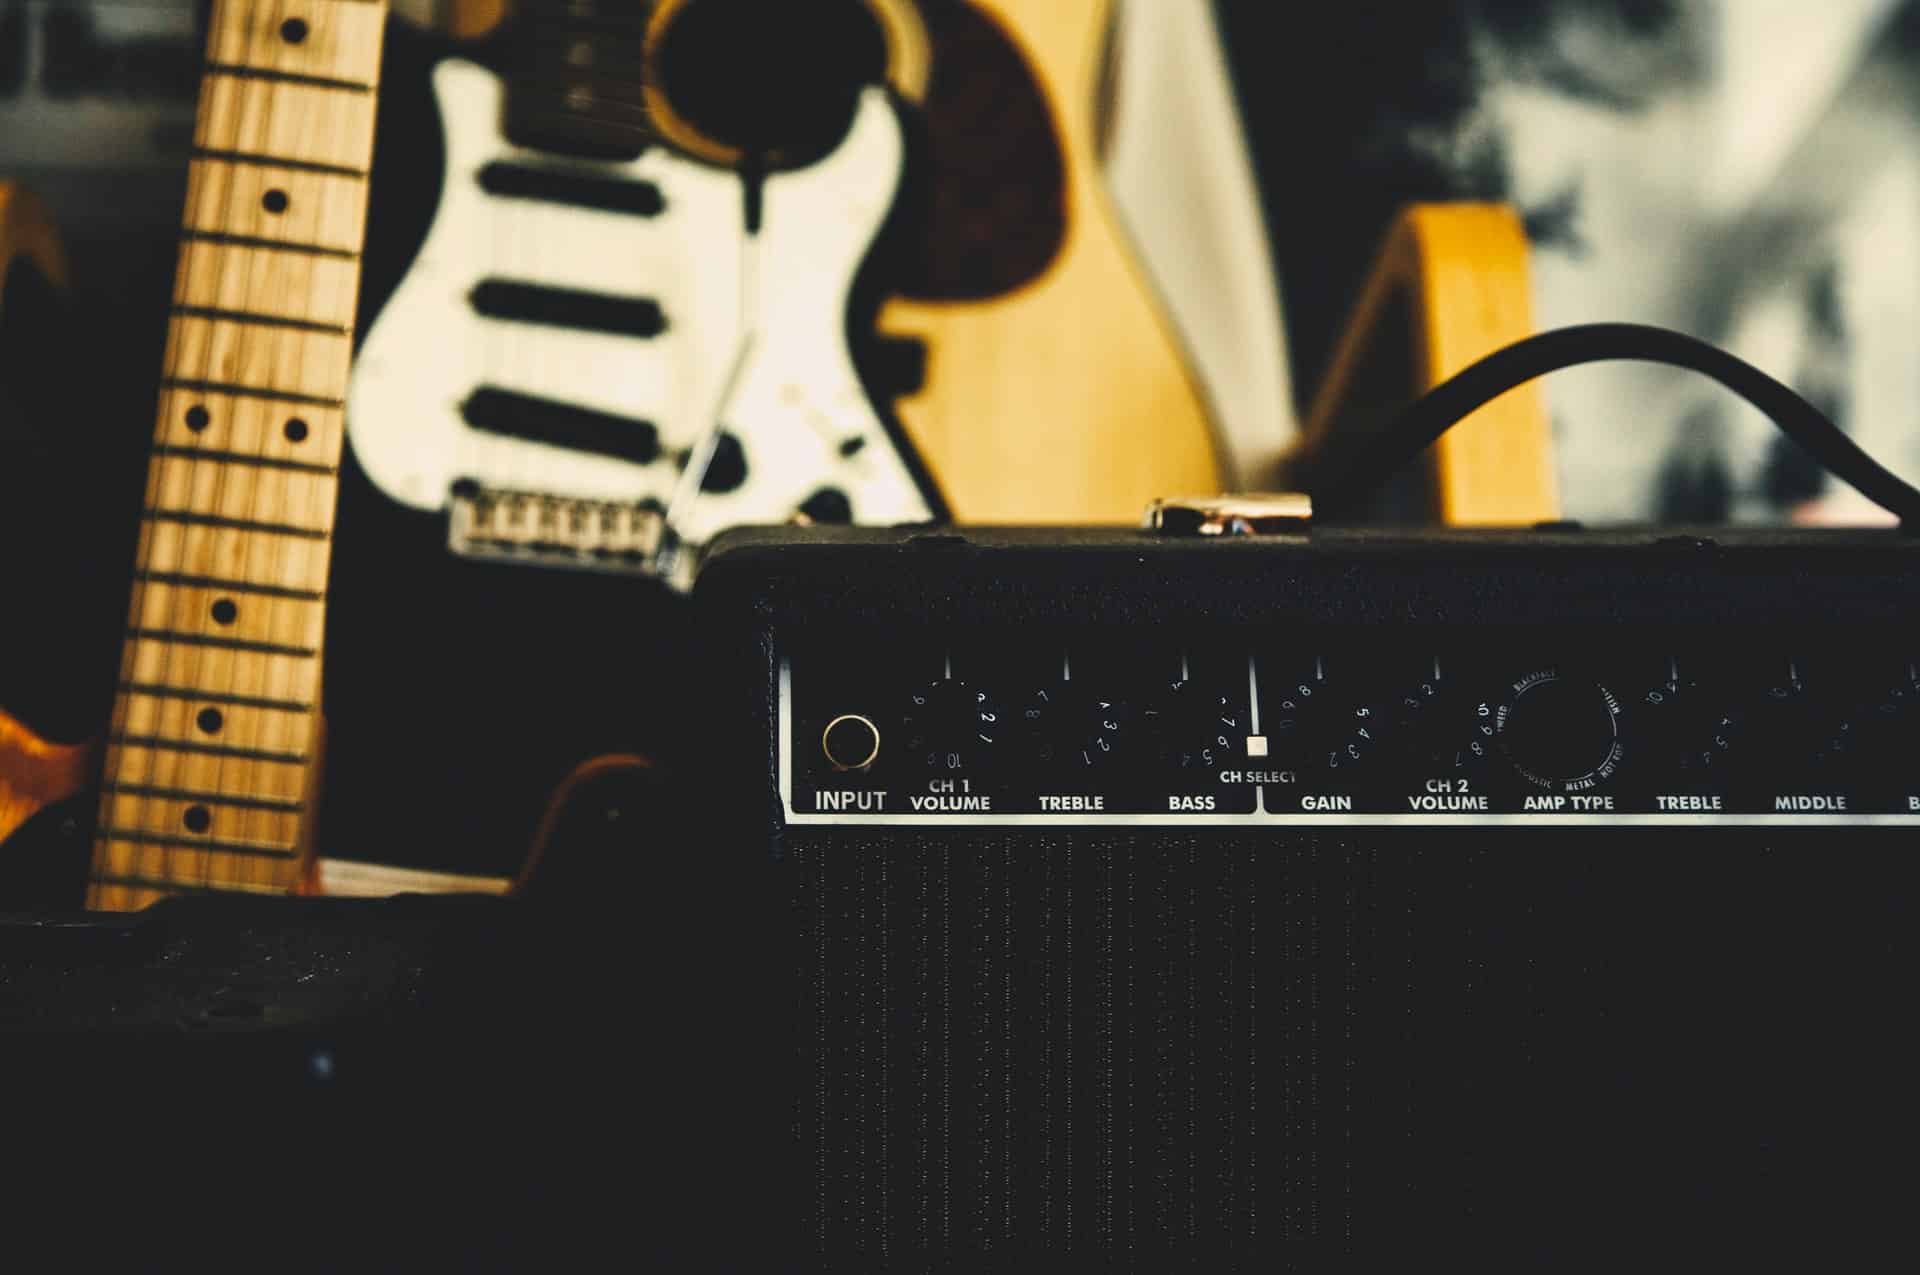
Compared to their predecessors, tube amps nowadays have superior dependability and reliability but they remain far from perfect. In the course of operations, modern tube amps may run into several issues and crackle static sound is a prime example.
Regarding the issue of tube amp crackle static sound, a number of causes exist but the most prominent one is dirt and the best solution for that is to wipe clean connections/knobs. Other solutions include decreasing internal effects, reseating the tubes, checking out the power supply and asking for professional assistance. Unable to grasp the causes and solutions on your own? Then read to the end of the article to gain a complete understanding of the issue.
Insights Into The Triggers
If you hear crackle static sound whenever you turn on your tube amb, it’s suggested that you take these suspects into account:
- Dirt.
- Connection issues.
- High internal effects.
- Solder errors.
- Power supply is unstable.
Eliminating Crackle Static Sound: Advice
Preparation
Tools
- Crosshead screwdriver
- LED Flashlight
- Multimeter
- Electrician gloves
- Small flat-blade screwdriver
- Standard flat-blade screwdriver
Materials
- 1/4-inch female-to-female mono adapter
- Fuses
- At least one of each preamp tube type
- One-foot speaker cable with 1/4 male-to-female jack
- Rectifier tube (if your amp uses one)
- Set of matched [power tubes
- Spare amp head or power amp pedal
- Speaker cable
- Contact cleaner
Execution

Note: Before trying to fix amplifiers by yourself, keep in mind that many components inside amps have an electrical charge and can injure you. For good measure, take these precautions:
- Remove all jewelry
- Unplug the amp.
- Wear goggles.
- Discharge the electrolytic filter capacitors by shorting the plus side to the chassis.
- Don’t touch the tubes with your bare hands.
Clean All The Tubes/Knobs
- Step 1: Disconnect the amp from its power supply and make sure there is no electricity left in your amp
- Step 2: Remove the tube from the socket then apply a little bit of contact cleaner to the pins of the tube.
- Step 3: Carefully reinsert the tube and remove it (not all the way out) a few times to “scrub” the socket.
Note: If the crackle static sound appears as you touch the potentiometer, there is a chance that a build-up of dust is causing the problem. Some contact cleaners can take care of your amp issue in the short term but in the long term, you should consider picking up a knob replacement.
- Step 1: Get a hold of the screwdriver then disassemble the amp to gain access to the potentiometer.
- Step 2: Spray a little bit of the contact cleaner on a piece of cloth then gently wipe down the potentiometer‘s shaft and knob. Remember to stay clear of the electrical terminals as well as other sensitive parts.
- Step 3: Wiggle the knob and shaft back and forth a few times to remove all the dirt stuck on them.
- Step 4: Let everything dry completely before reassembling the amp. Last but not least, turn on the amp and witness the result.
Check Out The Connection
Once it comes to the tube amp crackle static sound, it’s worth checking out the connection between the speaker and the amp. The process is simple: replace the connection then determine whether the issue lingers.
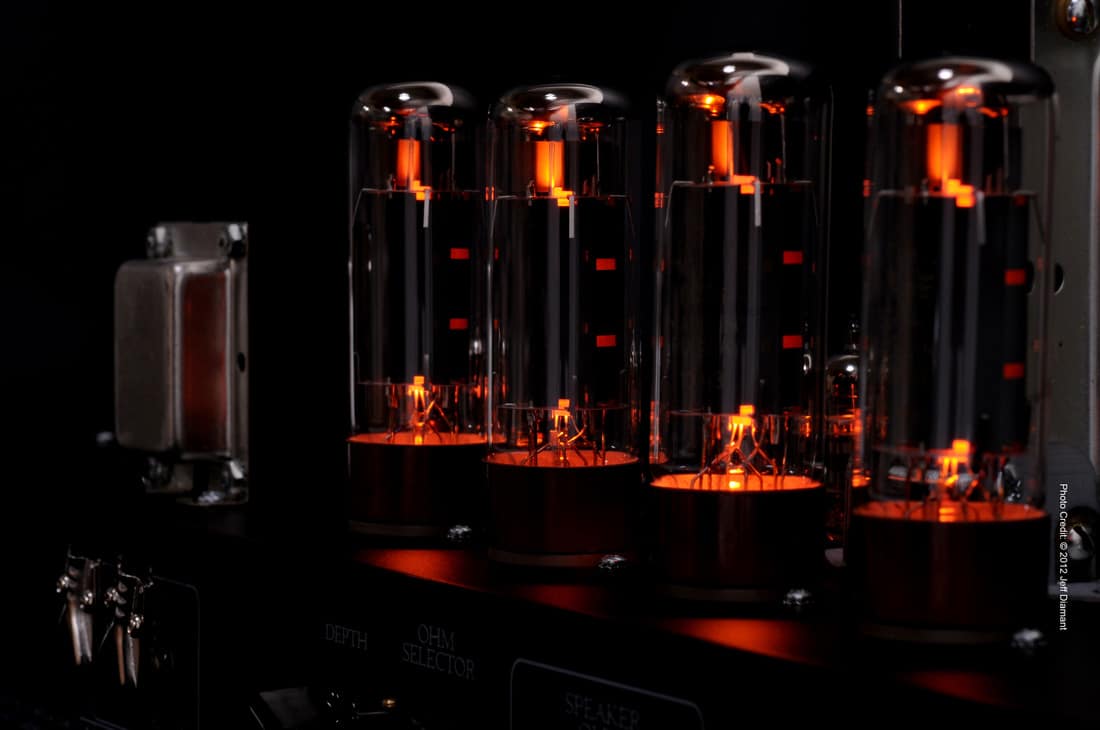
Re-Seat The Tubes
- Step 1: Gently push in the tubes for secured connections.
- Step 2: If you still hear the crackle static sound, a defective tube is responsible for the issue and you should replace it. To learn which tube is behind the crackle static sound, you can try changing the position of the tubes. It’s best to change one tube at a time to find the defective one.
- Step 3: If you have changed all the tubes and the crackling static sound is still there, replace all the output tube set with matching spares.
Reduce The Internal Effects
- Step 1: Decrease all the internal effects on your amp (tremolo, reverb, etc.), and turn down all the volume controls
- Step 2: Hit the top of the amp a few times to see if the crackling appears. If not, then turn up the volume and repeat the process.
Look For Solder Error
Some of the cheap amplifiers make use of printed circuit boards and shady manufacturers can cut corns that lead to solder errors. You can easily detect solder errors by locating joints that appear lumpy or rough on the surface.
Think About The Power Supply
- Step 1: Unplug the amp from the current power supply and connect it to another one inside your house/studio. If you still notice crackle static sound, go to another location and set up the amp.
- Step 2: If the sound disappears, you should look into the wiring in your home/studio.
Ask For Professional Assistance
If you have done all the above and the issue still gives you a hard time, you have no choice but to bring your amp to a professional for further checkup. If your amp is a cheap model, feel free to buy a new one.

Hi music fan! I am Jeff. Hope that you enjoy some stuff I shared here in my personal blog.
About myself, Currently I am in charging as Artist Manager/Music Supervisor at 72 Music Management. I did managed album to Grammy Award in 2017 with 7 Nominations from 2014-2020 and had the opportunities to work with : A.J. Croce, Blind Boys of Alabama, Bobby Rush, Dom Flemons, Dustbowl Revival, Sarah Grace
Governor of the Memphis Chapter of The Recording Academy is one of a award that I am lucky to achieved.