
Contents
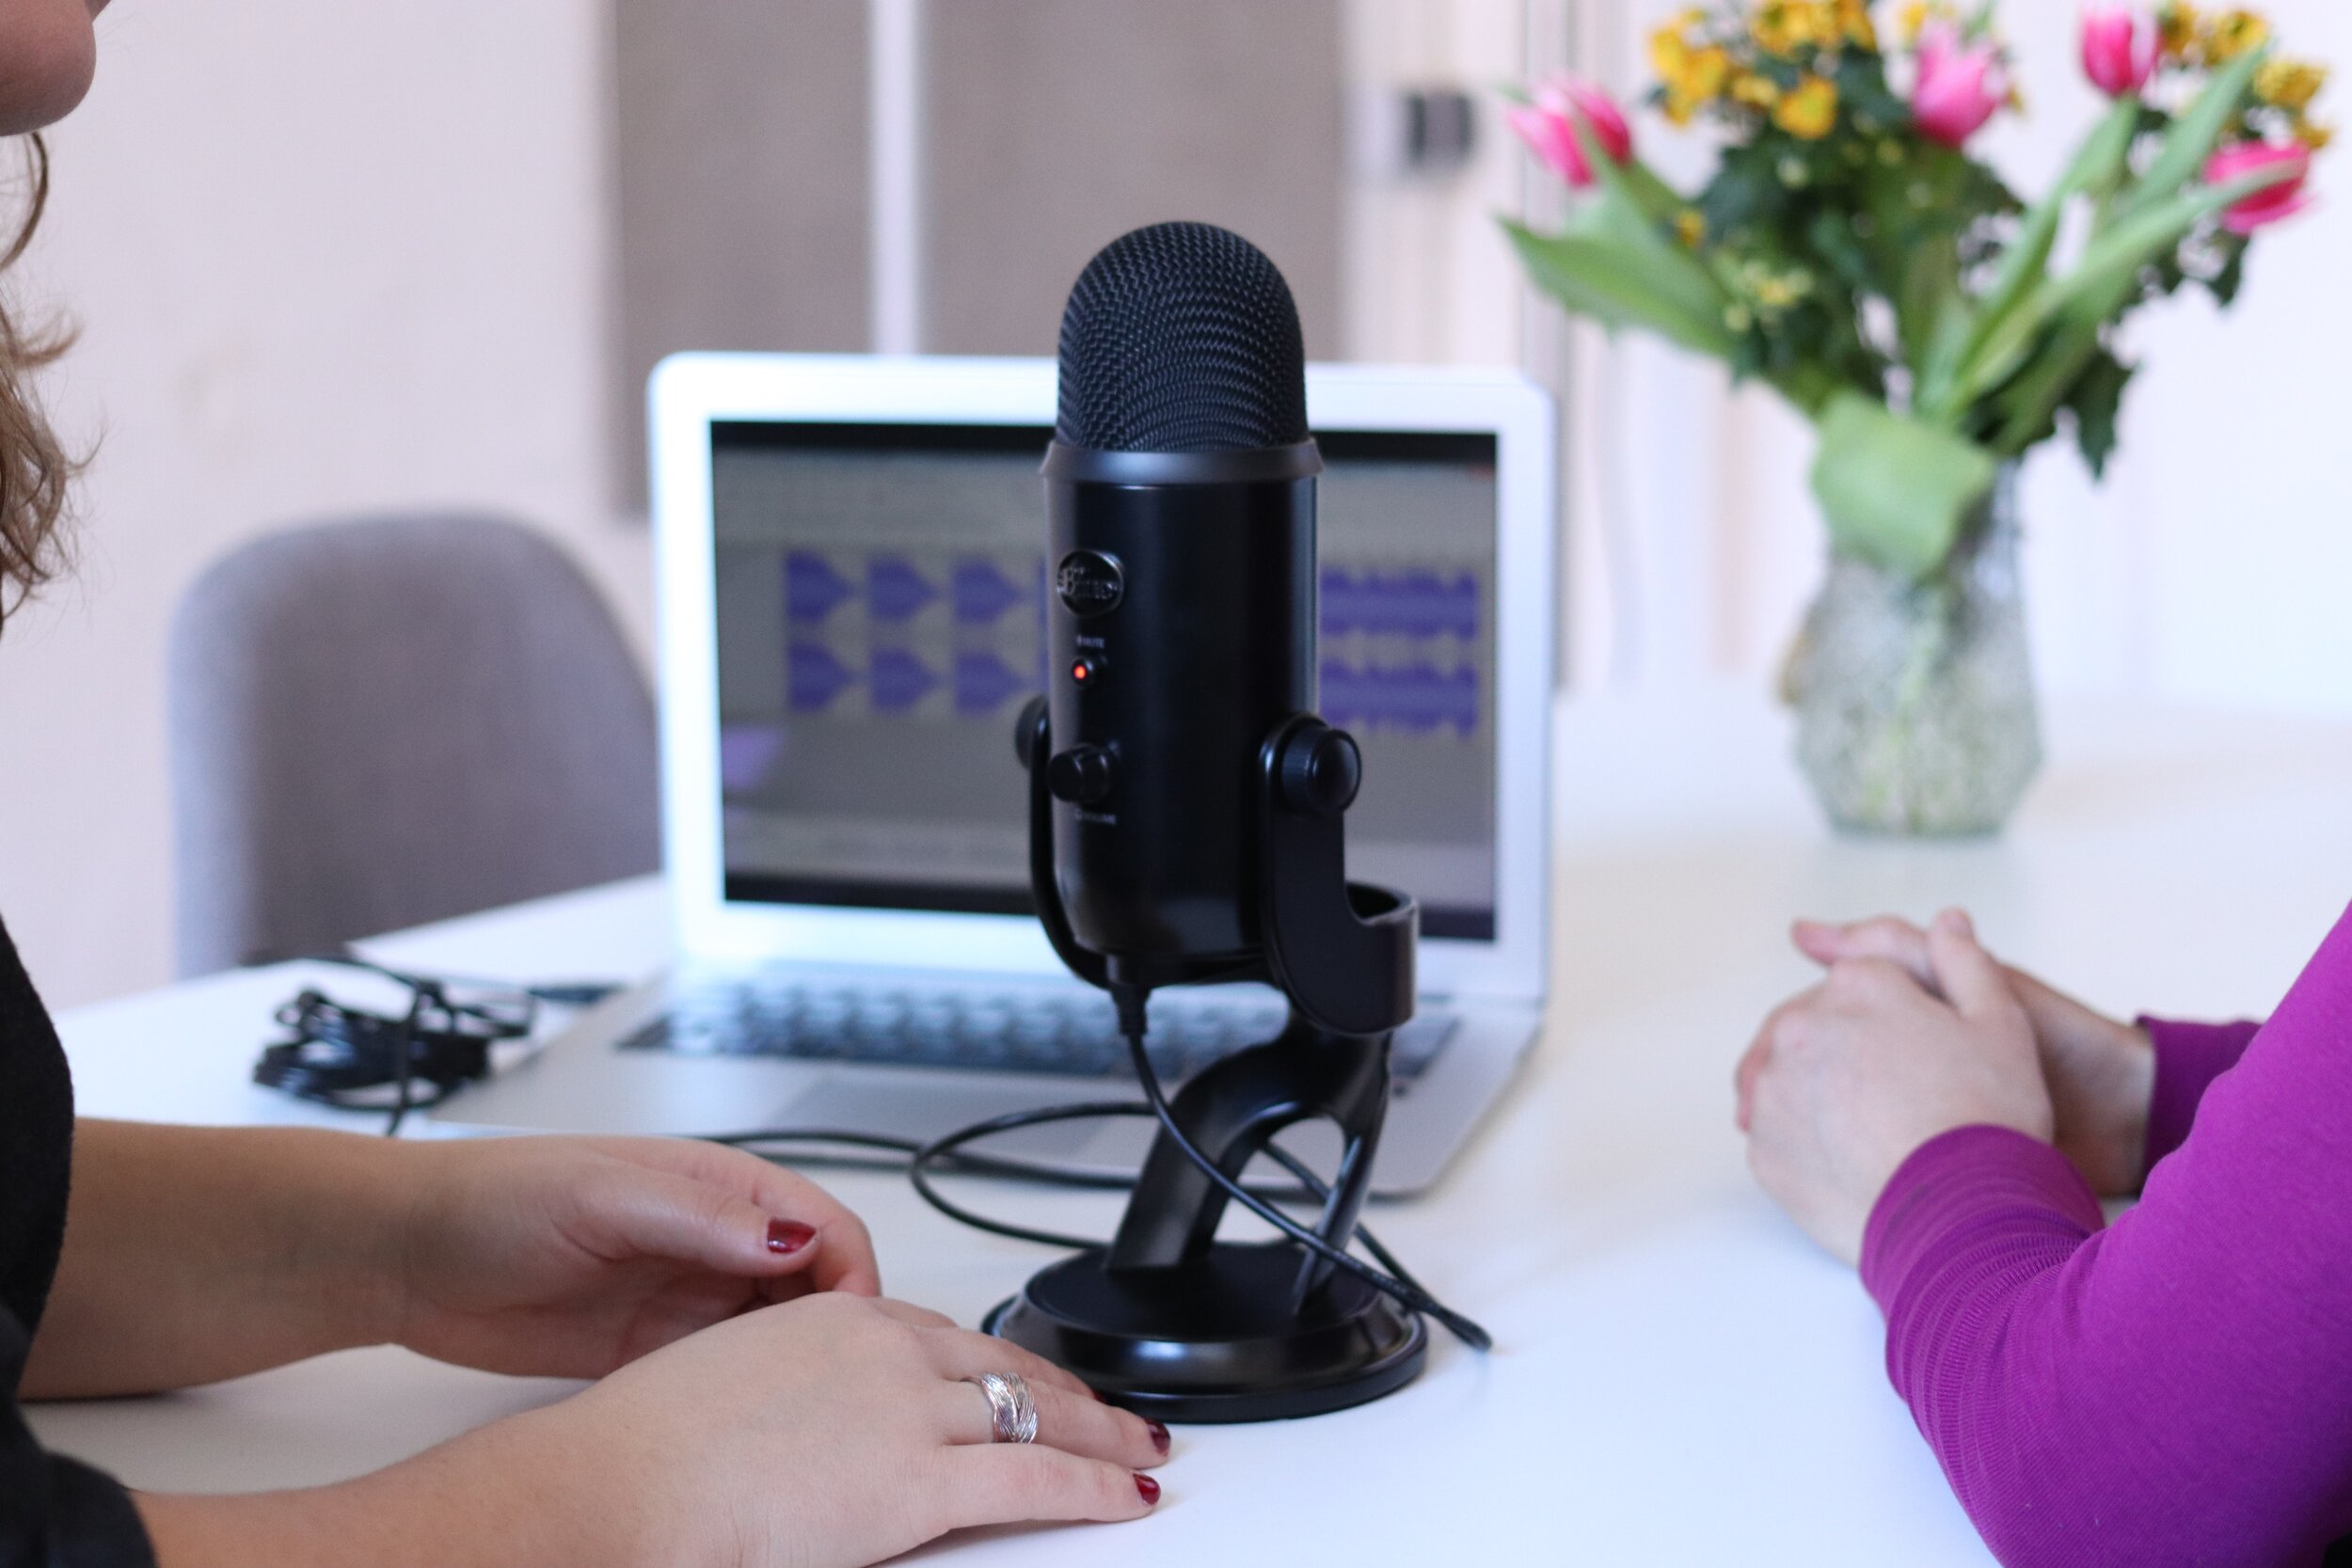
Among the microphones used for recording activities, Blue Yeti usually occupies the top spot owing to its reliability and dependability. You want to get the most out of Blue Yeti while using Audacity and desire the best Audacity settings for Blue Yeti? In that case, you have come to the right place.
How To Get Optimal Audio

You have a hard time deducing the ideal configuration for Audacity while using Blue Yeti? In that case, this article may be what you need. Down below, you would find all the information about setting up Audacity for Blue Yeti as well as relevant issues.
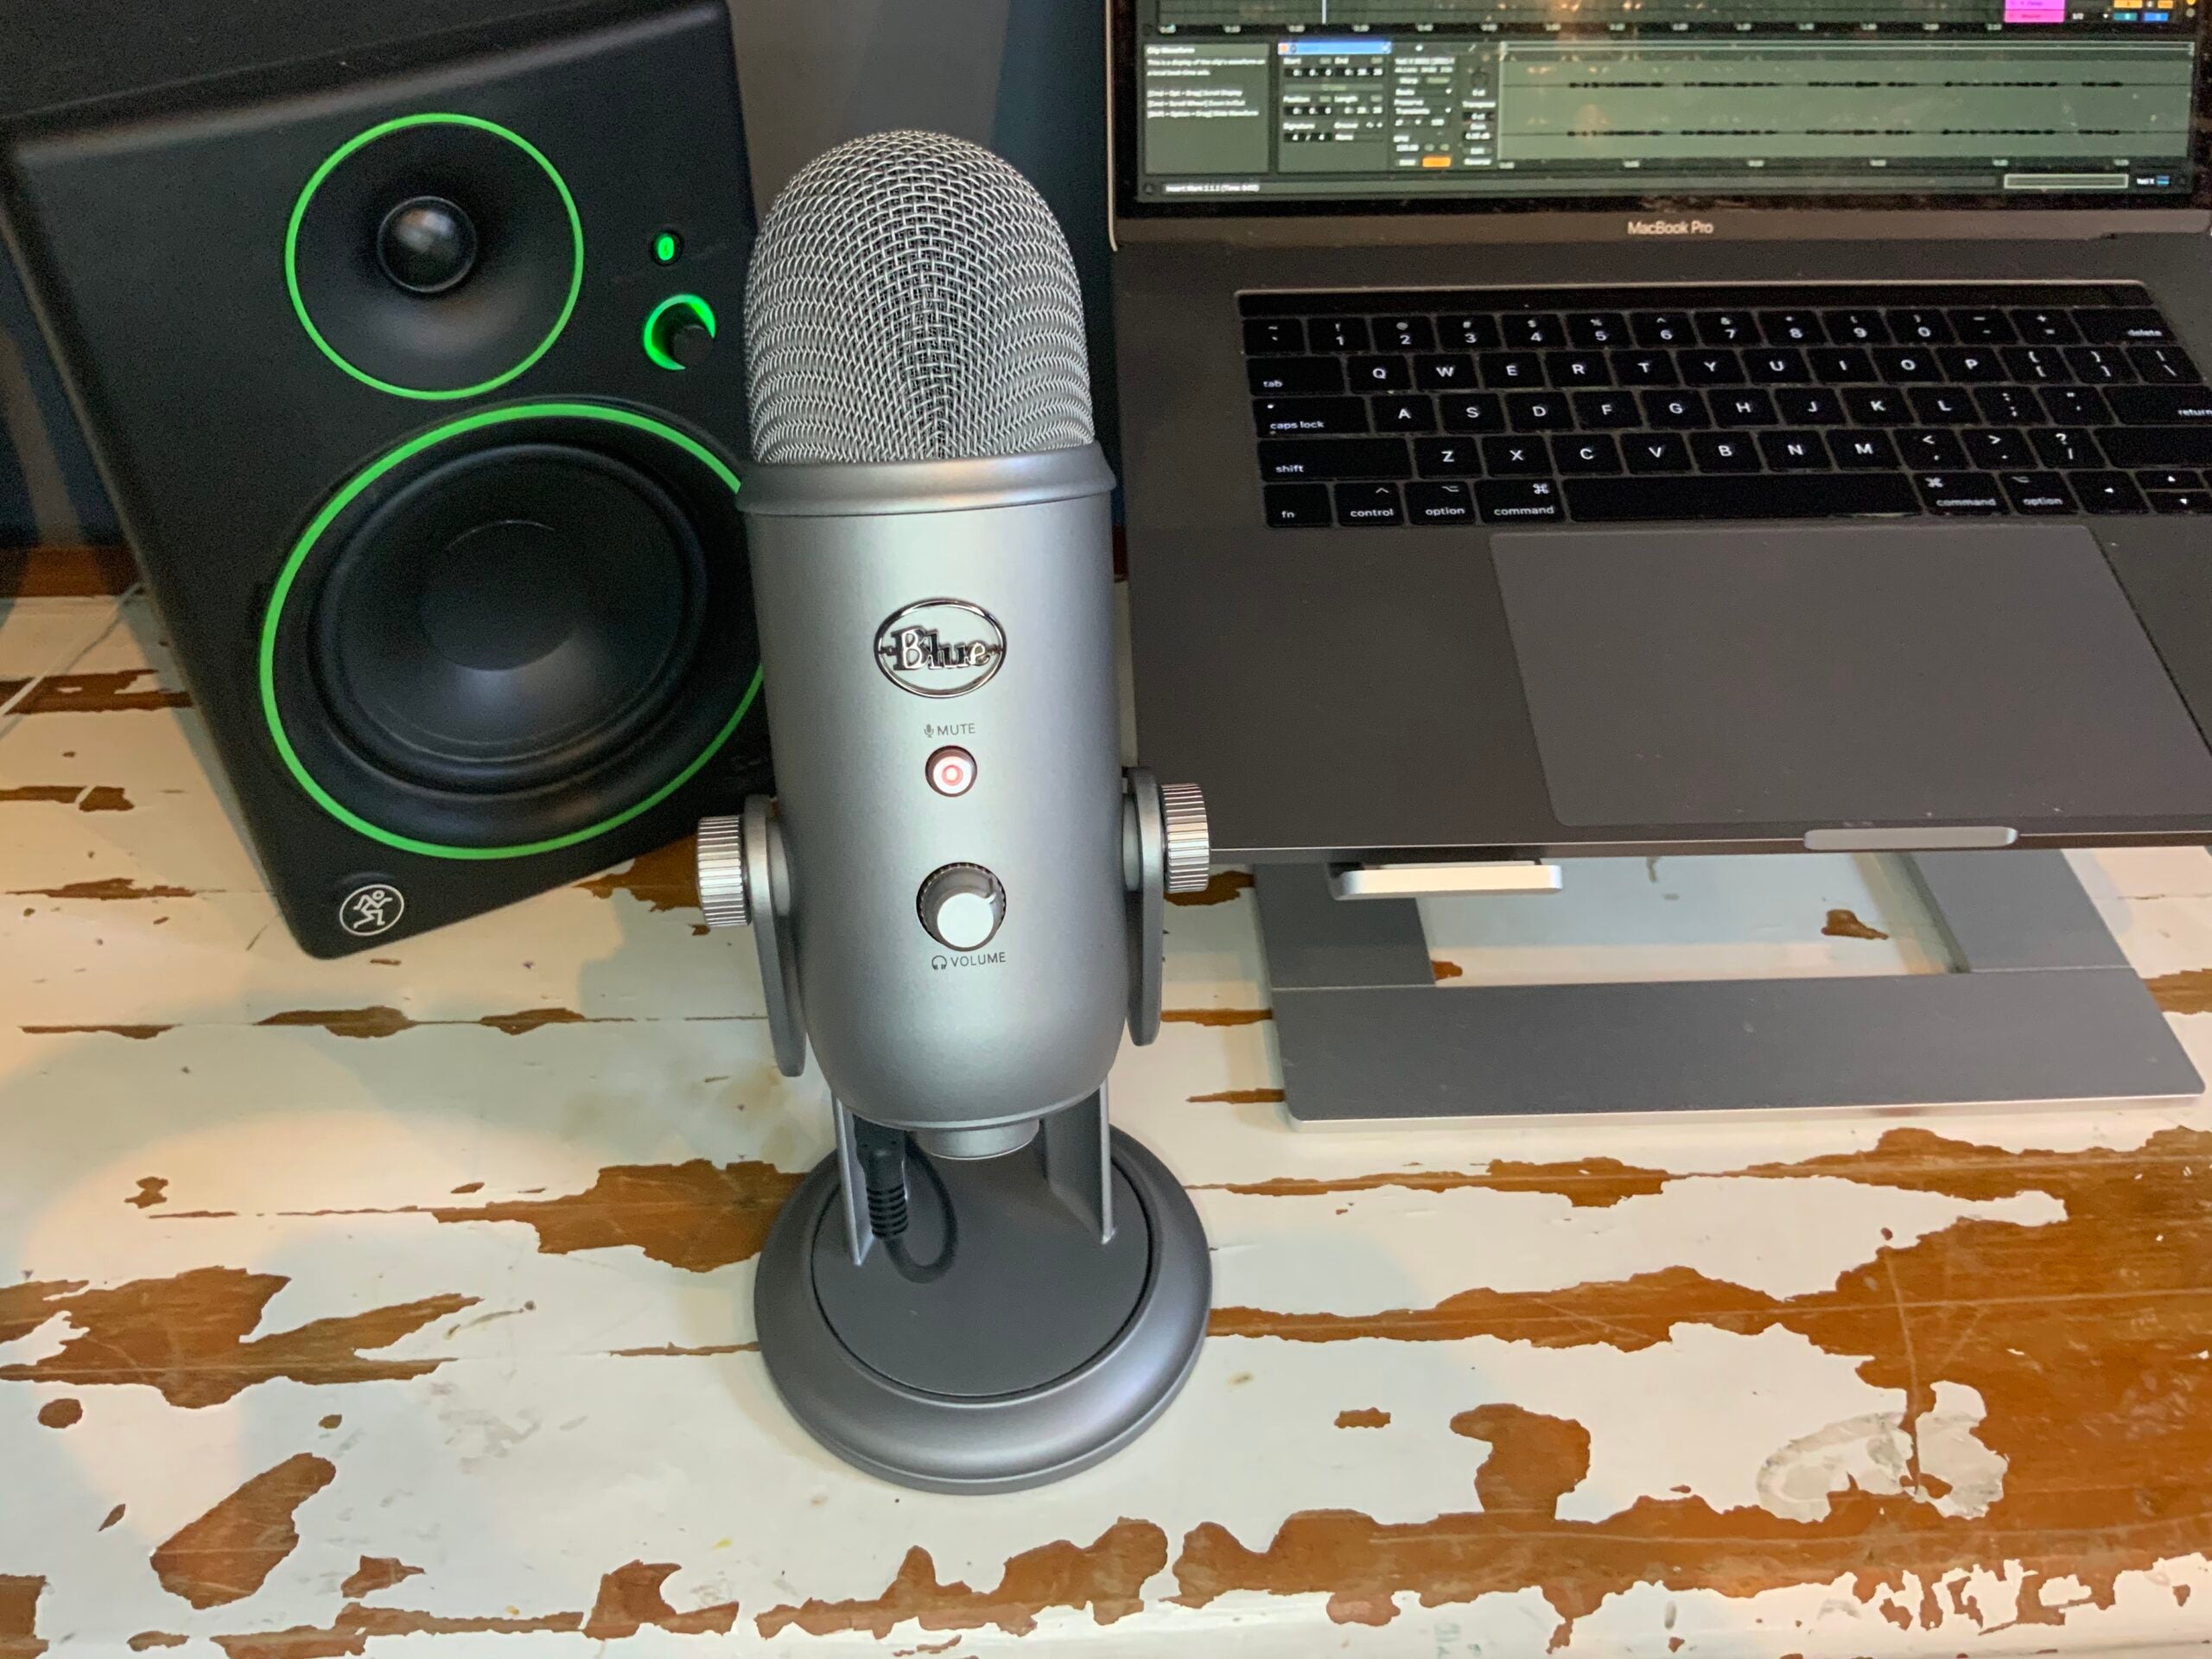
Blue Yeti
In the beginning, you need to plug Blue Yeti into your computer via a USB cable. Next, use the Pattern knob to determine the direction that you want Blue Yeti to capture sound.
- Cardioid (Symbol: Heart): In Cardioid mode, Blue Yeti is going to capture sound in front of it. Since it delivers rich audio, Cardioid is popular among those who wish to use Blue Yeti for podcasting, streaming, recordings, etc.
- Stereo (Symbol: Intertwined Circles): For capturing wide, realistic sounds from instruments, choirs and so on, Stereo is by all accounts second to none. The moment Blue Yeti enters Stereo mode, it would use both the left and right channels to record.
- Bidirectional (Symbol: Number Eight): As the name suggests, Bidirectional mode allows you to capture sound behind and in front of your Blue Yeti. Bidirectional work wonders on a number of occasions from duets to two-person interviews.
- Omnidirectional (Symbol: Circle): You like to capture every sound around the microphone? Then Omnidirectional is your best bet. By taking advantage of the Omnidirectional mode, you should be able to boost the ambient aspect of recordings. It’s a good idea to use Omnidirectional in live performances, conferences calls, multi-person podcasts, …
Audacity
- Step 1: Launch Audacity
- Step 2: Pick Edit, choose Preferences and select Devices
- Step 3: Go to Interface and set Host as MME
- Step 4: Go to Playback and set Device as Yeti Stereo Microphone
- Step 5: Go to Recording and set Device as Yeti Stereo Microphone
After you finish configuring the settings, you may want to do a test recording to see the quality of the audio. Different people look for different things so the community is at odds about the best Audacity settings for Blue Yeti. That being said, via experiments, you could come up with settings that match your requirements in no time. All you need to do is to be patient as you apply changes to the settings of Audacity.
Here is a list of recommended settings:
- For podcasting: Set the mic to the Cardioid mode then adjust the gain so you don’t have to raise your voice. Feel free to change the Audacity settings to reach the level of audio you desire.
- For streaming: Once again, Cardioid mode is the ultimate choice. Streaming accessories tend to create buzzes and Cardioid lets you avoid them altogether. In the next part, turn the gain down to get more sound absorption. To be thorough, tweak the volume of Audacity and your computer too. Take your time with the adjustment since rushing usually results in poor audio.
- For recording: First, it’s widely advised that you set Blue Yeti to a mode that fits your preferences. Cardioid is good but Stereo proves superior in a number of arrangements. Second, position instruments close to the microphone but not directly beside it. Third, use both the gain knob and the volume control of Audacity to stop sound from reaching its peak.
Tips And Tricks
Thanks to their adaptability, the Audacity – Blue Yeti combo produces outstanding results in all sorts of arrangements. Still, if you have trouble putting together a configuration that provides audio to your liking, you must check out the following suggestions.
Think About The Positioning
Get a hold of the arm of the mic to raise the mic and point it down toward the table. Afterward, set up the pop filter so it sits between the microphone and your mouth but never touches either. Aside from that, it’s wise to arrange sound baffle panels between you and the walls to reduce echos. Last but not least, take the source of sound into account as well since it dictates how smooth Blue Yeti captures the audio.
Give Volume Level Some Thought
Before recording for the first time, it’s strongly recommended that you tweak the volume level instead of using the default value. You would be able to increase and decrease the volume level using the Gain knob of Blue Yeti as well as the Recording Volume slider of Audacity. For most of the time, the best value range for recordings is between -12 and -6 dB. For good measure, speak into the microphone as you change the value to nail the volume level.
Maintain Distance At All Times
Hoping to increase the sound quality, many people have a habit of keeping their mouths as close as possible to microphones. In reality, speaking too close to microphones impair the audio which is why it’s key to maintain distance. To optimize the result, put at least 5 inches between Blue Yeti and your mouth in the midst of recording. Furthermore, you should refrain from moving your head suddenly to keep fluctuation to the minimum.
Keep The Mic Upright
In case you don’t know, Blue Yeti is a side-address model so you have to keep it upright in use. If you point the microphone toward your mouth during recording, the audio quality is going to drop. To stop Blue Yeti from moving all of the sudden, it’s suggested that you secure the stand. With the stand stable, you could keep the quality of your recordings consistent.
FAQs
What is the length of warranty of Blue Yeti?
Upon arrival, Blue Yeti is accompanied by a two-year warranty that brings peace of mind. If your Blue Yeti fails due to manufacturing defects in the warranty period, you could claim a replacement free of charge?
Do I have to get acoustic treatment for my walls?
Generally speaking, if you invest in acoustic treatment, you would have an easy time optimizing audio of your recording. Nonetheless, as the size of your recording space increases, the cost of acoustic treatment rises accordingly. If you cannot spend big bucks at the moment, you should use other ways to boost the sound quality. For instance, by putting up a couple of blankets, it’s possible to improve the sound of recordings.
How should I store Blue Yeti?
Outside of use, you could place Blue Yeti whenever you want as long as it won’t get in the way. However, if you don’t plan to use your microphone for an extensive period of time, it’s best to store it in a case. Nowadays, purpose-designed cases for microphones cost little so you need to consider buying one.

Hi music fan! I am Jeff. Hope that you enjoy some stuff I shared here in my personal blog.
About myself, Currently I am in charging as Artist Manager/Music Supervisor at 72 Music Management. I did managed album to Grammy Award in 2017 with 7 Nominations from 2014-2020 and had the opportunities to work with : A.J. Croce, Blind Boys of Alabama, Bobby Rush, Dom Flemons, Dustbowl Revival, Sarah Grace
Governor of the Memphis Chapter of The Recording Academy is one of a award that I am lucky to achieved.